
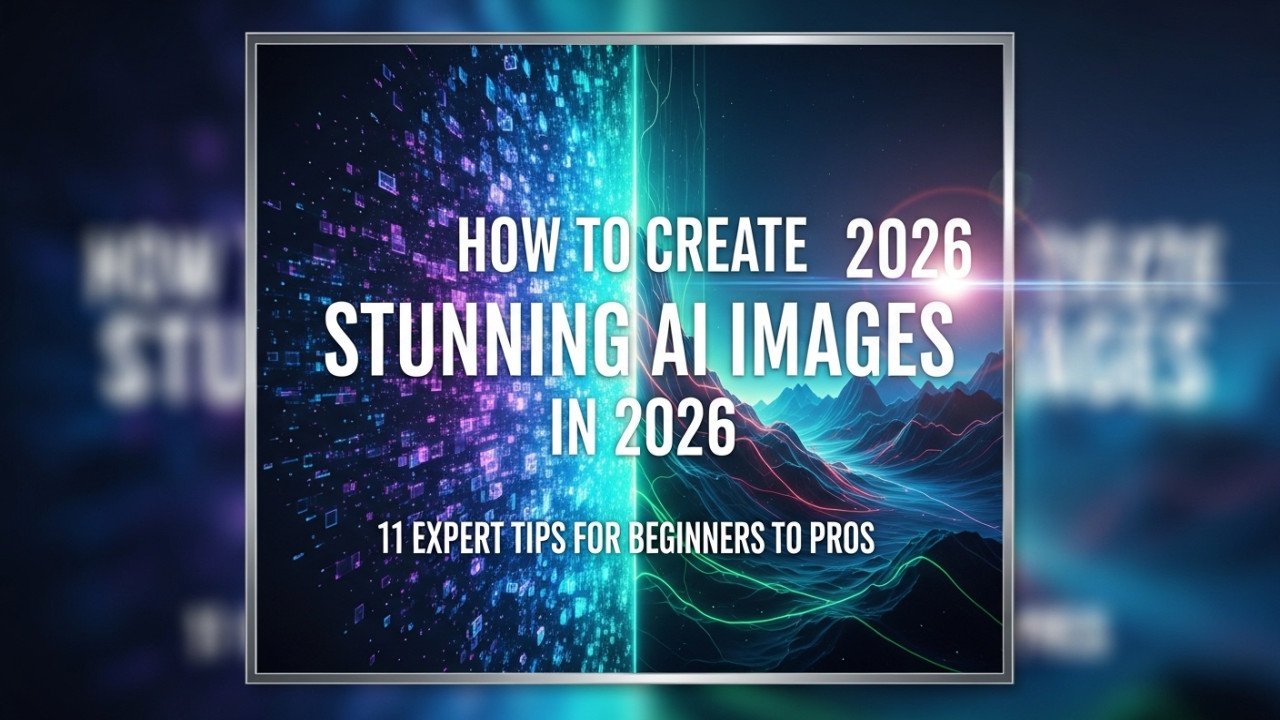
How to Create Stunning AI Images (Beginner to Pro Guide 2026)
11 Expert Tips for Beginners to Pros
AI image generation has moved far beyond novelty. In 2026, anyone can create professional-looking visuals in minutes, but getting truly impressive results still depends on one thing: knowing how to guide the tool well. If you have ever typed a prompt and ended up with distorted faces, messy hands, or random details you never wanted, this guide will help you fix that.
In this beginner-to-pro guide, you will learn what AI image generation is, how AI image models work in simple terms, how to write better prompts, how to improve image quality, and how to avoid the mistakes that ruin results. You will also find real prompt examples, before-and-after prompt upgrades, practical use cases, and advanced techniques you can apply immediately inside imagartai.com.
What Is AI Image Generation?
AI image generation is the process of creating images using artificial intelligence based on a text prompt, reference image, or style instruction. Instead of drawing manually, you describe what you want, and the AI turns that description into a visual result.
In simple terms, the AI has learned patterns from huge numbers of images and text descriptions. When you type something like “a cinematic portrait of a woman standing in neon rain,” the model predicts what that scene should look like and builds an image from scratch.
This makes AI image generation useful for many tasks:
Social media graphics
Blog illustrations
Product mockups
Character art
Logo concepts
Realistic portraits
Marketing visuals
Interior design ideas
For beginners, the biggest advantage is speed. For intermediate users, the biggest advantage is control. The more specific and structured your prompt becomes, the more consistent and impressive your results will be.
Suggested image: Add a screenshot of the imagartai prompt interface with a simple prompt and its generated result.
How AI Image Models Work
You do not need to understand deep machine learning to use AI image tools well, but a basic explanation helps you write better prompts.
Most AI image models work like this:
They analyze your prompt and identify key concepts such as subject, setting, lighting, style, colors, and composition.
They map those concepts to learned visual patterns from training data.
They generate an image by gradually refining noise into a coherent picture.
They follow your instructions as closely as possible, but they still “interpret” what you mean.
That last point matters. AI does not read prompts like a human art director. It looks for signals. If your prompt is vague, the output will often be vague too.
For example:
“A cat” gives the AI almost no direction.
“A fluffy white Persian cat sitting on a velvet chair, soft window light, luxury interior, realistic photography, shallow depth of field” gives it a much stronger blueprint.
A strong prompt usually includes these elements:
Subject: What is the main thing in the image?
Environment: Where is it?
Style: Realistic, cartoon, watercolor, 3D, anime, and so on.
Lighting: Soft light, dramatic light, golden hour, studio lighting.
Composition: Close-up, wide shot, centered, aerial view.
Quality cues: Highly detailed, sharp focus, cinematic, ultra-realistic.
How to Create Stunning AI Images Step by Step
If you want consistently good results, follow this process instead of typing random ideas and hoping for the best.
1. Start with a clear goal
Ask yourself what the image is for. A blog header, product ad, YouTube thumbnail, logo concept, and portrait all require different styles and framing.
Examples:
Blog image: clean, readable, topic-focused
Social media post: bold, eye-catching, high contrast
Product concept: realistic lighting and commercial polish
Fantasy art: detailed environment and dramatic mood
2. Choose the right image style
Before writing your prompt, decide on the style:
Realistic photo
Digital art
3D render
Anime
Minimalist illustration
Oil painting
Watercolor
Logo concept
This one choice dramatically changes the result.
3. Build your prompt in layers
A simple formula that works well is:
Subject + environment + style + lighting + camera/composition + detail level
Example:
“A futuristic sports car parked in a rainy Tokyo street, cinematic cyberpunk style, neon reflections, night scene, low-angle shot, ultra detailed, realistic photography”
This prompt works because it tells the AI exactly what to focus on.
4. Generate multiple versions
Do not judge a concept from one output. Generate several variations and compare:
Best composition
Best facial details
Best lighting
Best color harmony
Often, the second or fourth image is better than the first.
5. Refine the prompt
If the output is close but not perfect, do not start over completely. Improve the weak part.
If the face looks odd, add:
symmetrical face
natural skin texture
realistic eyes
clean facial features
If the background feels empty, add:
detailed city background
atmospheric depth
layered environment
soft fog or light particles
6. Use negative prompts if available
Negative prompts tell the model what to avoid. They are extremely helpful for reducing common defects.
Useful negative prompt terms:
blurry
low quality
extra fingers
distorted face
bad anatomy
text
watermark
oversaturated
cropped
duplicate objects
7. Upscale or enhance the final image
Once you get a strong result, improve it with enhancement tools if Imagartai supports them. Upscaling helps for:
sharper details
cleaner textures
better print quality
improved presentation for websites and ads
Suggested image: Add a step-by-step screenshot series showing prompt entry, first results, prompt refinement, and final enhanced image.
Real AI Prompts That Actually Work
Below are practical prompt examples for different use cases. Each one includes why it works, so users can learn the logic, not just copy text.
Realistic portrait prompt
Prompt:
“Ultra realistic portrait of a confident young woman standing near a large window, soft natural morning light, neutral beige outfit, shallow depth of field, 85mm lens, detailed skin texture, cinematic photography, clean background”
Why it works:
“Ultra realistic portrait” defines the style clearly.
“Soft natural morning light” improves skin tone and realism.
“85mm lens” suggests flattering portrait composition.
“Clean background” prevents clutter.
Expected result:
A polished portrait with soft facial lighting, natural proportions, and a professional editorial look.
Product photography prompt
Prompt:
“Luxury perfume bottle on black marble surface, dramatic studio lighting, golden reflections, high-end commercial product photography, sharp focus, elegant shadows, premium branding style”
Why it works:
Strong commercial language pushes the AI toward ad-quality output.
Surface, lighting, and reflections create depth and realism.
“Premium branding style” helps the image feel expensive.
Expected result:
A sleek product shot suitable for e-commerce, ads, or homepage banners.
Fantasy art prompt
Prompt:
“Ancient floating castle above the clouds, glowing waterfalls, sunset sky, epic fantasy concept art, cinematic composition, highly detailed environment, magical atmosphere, volumetric lighting”
Why it works:
Strong visual elements give the AI room to create something dramatic.
“Concept art” guides the image away from photo realism.
“Volumetric lighting” adds mood and depth.
Expected result:
A richly detailed fantasy scene that feels like a game or movie concept illustration.
Logo concept prompt
Prompt:
“Minimalist logo concept for a modern AI design brand, geometric icon, clean lines, blue and purple gradient, white background, vector style, professional branding, simple and memorable”
Why it works:
“Minimalist,” “geometric,” and “vector style” reduce chaos.
“Simple and memorable” encourages cleaner shapes.A white background helps isolate the concept.
Expected result:
A clean logo direction useful for brainstorming, though final logos should still be refined manually in a design tool.
Interior design prompt
Prompt:
“Scandinavian living room with natural wood furniture, soft beige sofa, indoor plants, large windows, warm daylight, minimalist interior design, cozy atmosphere, realistic rendering”
Why it works:
Strong style reference: Scandinavian.
Controlled color palette: wood, beige, green.
Realistic rendering helps create usable room inspiration.
Expected result:
A modern, warm, clean living room suitable for inspiration boards or blog visuals.
Before-and-After Prompt Examples
This is where many users improve fast. Small changes in wording can lead to much better AI images.
Example 1: Portrait
Before prompt:
“Woman in a city”
Likely result:
A generic image with inconsistent styling, random clothes, and weak composition.
After prompt:
“Stylish young woman walking through a modern city street at golden hour, soft sunlight, realistic fashion photography, full-body shot, confident pose, natural skin texture, shallow depth of field, detailed background”
Why the improved version works:
It adds time of day, style, framing, pose, realism cues, and environment details. The AI now has a much clearer target.
Example 2: Food photography
Before prompt:
“Burger on a table”
Likely result:
Flat composition, low detail, unappetizing lighting.
After prompt:
“Close-up gourmet cheeseburger on a rustic wooden table, melted cheddar, crispy lettuce, toasted brioche bun, soft side lighting, commercial food photography, shallow depth of field, highly detailed, warm tones.”
Why it works:
Specific ingredients make the burger look intentional. Food photography cues improve lighting and focus.
Example 3: Digital art
Before prompt:
“Dragon flying”
Likely result:
Basic fantasy output with unclear mood and weak storytelling.
After prompt:
“Massive black dragon flying over a burning medieval village at night, cinematic fantasy illustration, glowing fire below, smoke in the air, dramatic moonlight, dynamic composition, epic scale, highly detailed”
Why it works:
It adds emotion, setting, lighting, and narrative tension. The scene becomes more cinematic and memorable.
Suggested image: Show side-by-side comparisons for each before-and-after example. Add labels like “Basic prompt result” and “Refined prompt result.”
Common AI Image Mistakes and How to Fix Them
Even good tools produce weak results when the instructions are weak. Here are the most common beginner mistakes.
Being too vague
Bad example:
“Make a cool image.e”
Fix:
Describe subject, style, lighting, mood, and framing.
Overloading the prompt
Bad example:
“A futuristic medieval anime realistic watercolor 3D photo of a cat astronaut king in a forest city beach castle”
Fix:
Choose one main direction. Too many conflicting styles confuse the model.
Ignoring composition
Bad outputs often happen because the prompt never says whether the image should be a close-up, wide shot, portrait, or top-down angle.
Fix:
Add composition terms such as “close-up portrait,” “aerial view,” “wide cinematic shot,” or “centered composition.”
Forgetting lighting
Lighting changes everything.
Fix:
Use phrases like “soft window light,” “dramatic studio lighting,” “golden hour,” “neon night lighting,” or “diffused daylight.”
Expecting perfect text in images
AI still struggles with text rendering in many situations.
Fix:
Generate the visual without text, then add text later in Canva, Photoshop, or another editor.
Not refining results
Many users quit after one bad generation.
Fix:
Treat prompting like iteration. Adjust one variable at a time: subject, background, lighting, realism, or style.
Pro Tips to Improve AI Image Quality
If you already know the basics, these techniques can push your results much further.
Use camera language for realism
For photo-style images, terms like these often help:
35mm lens
50mm lens
85mm lens
shallow depth of field
bokeh
cinematic photography
studio lighting
These terms nudge the AI toward more photographic composition.
Control color palettes
Instead of saying “beautiful colors,” be specific:
muted earth tones
black and gold luxury palette
pastel pink and blue
monochrome gray tones
Specific palettes create cleaner, more professional images.
Add mood words carefully
Mood words influence emotional tone:
cozy
dramatic
mysterious
elegant
futuristic
dreamy
Example:
“Cozy café interior” feels very different from “luxury café interior” or “abandoned café interior.”
Use style references broadly, not blindly.
Instead of copying a living artist’s exact style, describe broader aesthetics such as:
impressionist painting
retro sci-fi poster
cinematic noir
clean editorial photography
Japanese ink wash style
This is safer and often produces more original-looking results.
Improve details in passes
A smart workflow is:
Generate the main composition.
Refine the strongest version.
Upscale or enhance.
Edit small issues manually if needed.
This usually works better than trying to force perfection in one prompt.
Best Use Cases for AI Image Generation
AI image generation is most useful when speed and visual experimentation matter.
Blog and website visuals
Create custom featured images that fit your article better than stock photos.
Social media content
Generate scroll-stopping graphics for Instagram, Facebook, Pinterest, and X.
E-commerce mockups
Create product scenes, packaging concepts, and lifestyle visuals before a full photo shoot.
Branding ideas
Use AI for logo directions, mascot concepts, and visual identity mood boards.
Creative projects
Design characters, fantasy scenes, posters, album art, and book covers.
Real estate and interior inspiration
Generate room makeovers, office layouts, and decor concepts quickly.
Suggested image: Add a collage showing different output categories: portrait, product photo, logo concept, fantasy art, and interior design.
Internal Link Opportunities
To strengthen topical authority on imagartai.com, add a few natural internal links in this article. Good options include:
Link the phrase AI prompt writing guide to an article about crafting better prompts.
Link the best AI image generation tools to a comparison post.
Link how to fix distorted AI images to a troubleshooting article.
Link realistic AI portrait prompts to a prompt library or tutorial page.
These links help readers go deeper while also improving site structure and SEO relevance.
FAQ
Is AI image generation hard for beginners?
No. Most beginners can create decent images quickly. The real skill is learning how to write clearer prompts and refine outputs step by step.
What makes an AI image look professional?
Usually, three things: a strong prompt, good lighting instructions, and clean composition. Realistic detail, balanced colors, and sharp focus also help a lot.
Why do my AI images look weird or low quality?
Common reasons include vague prompts, too many conflicting style instructions, poor lighting descriptions, and no negative prompts. Small prompt changes often solve the issue.
Can I use AI-generated images for my website or business?
In many cases, yes, but you should always check the usage rights and terms of the tool you are using. It is also smart to review outputs for brand consistency and originality.
Are AI image tools good for logo design?
They are useful for brainstorming logo concepts and visual directions. However, final logos usually need manual refinement in professional design software for clarity and scalability.
How long should an AI image prompt be?
Long prompts are not always better. Clear, specific prompts work best. Include only useful details that guide the subject, style, lighting, composition, and mood.
What is the fastest way to improve my results?
Study your best generations, then compare them with weaker ones. You will usually notice that the better results have clearer prompts, stronger lighting, and a more focused style direction.
Conclusion
Learning how to create stunning AI images is less about luck and more about structure. Once you understand how AI image generation works, how prompts influence results, and how to refine weak outputs, you can create visuals that look sharper, more professional, and more intentional.
The biggest improvement comes from specificity. When you define the subject, style, lighting, composition, and mood clearly, the AI has a much better chance of producing an image that matches your vision. Start simple, test different prompt variations, and improve the strongest result instead of chasing perfection from the first try.
If you want to put these techniques into practice right away, try generating your next image on imagartai.com. Experiment with the prompts in this guide, compare your results, and build your own prompt formula for portraits, products, concept art, and more. The fastest way to improve is to create, refine, and learn from each generation.


Comments (0)
No comments found