How to Convert iPhone HEIC Photos to JPG (Free, No App Needed)
A client once sent me a folder of iPhone product photos for a WordPress update. The images looked fine on the phone, but the files arrived as .HEIC, and the older desktop editing workflow they used would not preview them properly.
That is when HEIC becomes annoying: not because the photos are bad, but because you need a normal JPG for an upload form, a CMS, an email attachment, a marketplace listing, or a device that does not handle Apple’s format well.
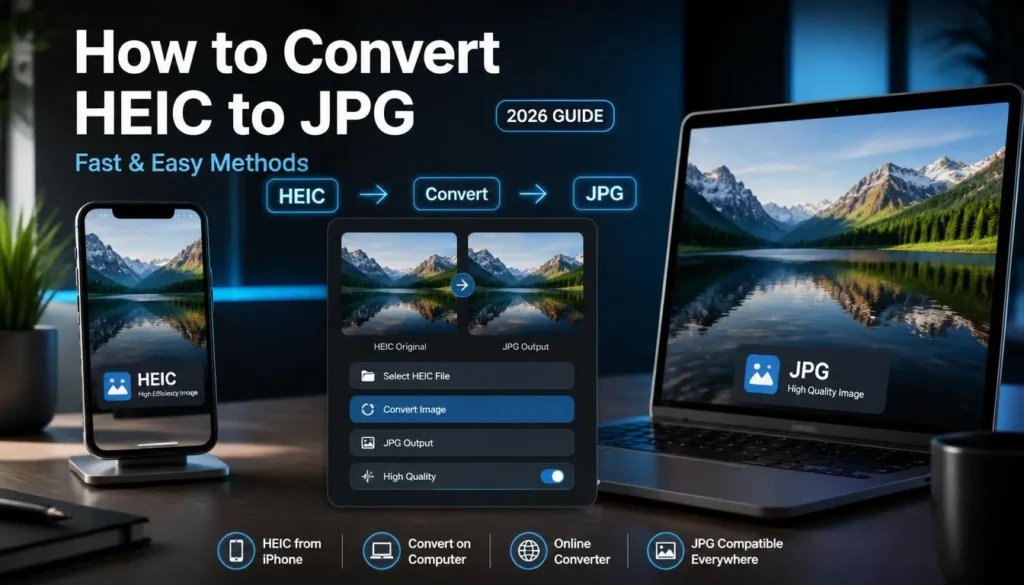
The good news is that how to convert HEIC to JPG does not need to involve downloading another iPhone app. You can convert existing photos in a browser, let your iPhone convert them during transfer, or change your camera setting so future pictures save as JPG.
Why iPhone Photos Use HEIC
HEIC is the file extension commonly associated with Apple’s High Efficiency Image File Format, or HEIF. iPhones use it because it can preserve strong image quality while using less storage than older image formats in many cases.
That is useful when you take hundreds of photos, shoot Live Photos, or rely on iCloud storage.
The issue is compatibility.
JPG is an older format, but it remains the safer choice when you need to:
-
Upload photos to a website or WordPress media library
-
Send image files to a client or colleague
-
Submit documents or images to an online form
-
Open files on an older Windows PC
-
Use a desktop program that does not support HEIC
-
Add photos to an e-commerce product listing
-
Share a folder with people using mixed devices
Apple lets compatible iPhones capture new photos in either High Efficiency format or the more broadly compatible JPEG format. Choosing Most Compatible under Camera settings makes new photos save as JPEG. Apple Support
For photos you have already taken, conversion is usually the better fix.
How to Convert HEIC to JPG in Your Browser
For a handful of existing photos, a browser-based converter is often the fastest route. There is no need to change your iPhone camera settings just because you need three JPG files for a blog post or a marketplace upload.
Step 1: Locate the HEIC photos
First, find the photos you want to convert.
If they are still on your iPhone, you can upload them from the Photos app through your mobile browser. If you already moved them to a computer, open the folder where the .heic files are stored.
A quick way to check is to look at the filename extension:
-
IMG_1234.HEICmeans the file is in HEIC format -
IMG_1234.JPGorIMG_1234.JPEGmeans it is already a JPG -
IMG_1234.PNGmeans it is a PNG, often used for screenshots or graphics
Do not convert a file blindly just because it came from an iPhone. Screenshots are usually PNG files, while regular camera photos may be HEIC or JPG depending on the camera settings.
Step 2: Open a browser-based image converter
Open a conversion tool that accepts HEIC files and lets you export JPG images. For quick website work, I prefer a browser workflow because there is no desktop software to install and no app library to clean up afterward.
You can use the browser-based HEIC-to-JPG image converter to upload your HEIC file and choose JPG as the output format.
If you are converting photos for a site, do this before uploading them to WordPress. It keeps your media library cleaner and prevents the frustrating “unsupported file type” moment after you have already filled in alt text and captions.
Step 3: Upload one photo or a batch
Choose the HEIC images you need.
For a single profile photo or document attachment, one file is enough. For a product catalog, property listing, travel gallery, or blog image batch, upload multiple photos together if the converter supports batch processing.
Before starting a larger batch, test one image first.
That small check can save time if you discover that:
-
You selected the wrong folder
-
The photos are already JPG files
-
You need a smaller output size for a platform limit
-
You want to crop or edit before conversion
-
A particular photo has unusual color or transparency requirements
Step 4: Select JPG as the output format
Choose JPG or JPEG as the converted format. The two labels generally refer to the same image format; the three-letter .jpg extension became common because of older filename conventions.
JPG is a practical choice for regular photographs because it is accepted almost everywhere. That includes WordPress, Shopify, email clients, social platforms, online forms, and most editing tools.
For photos with text-heavy graphics, sharp logos, or transparent backgrounds, PNG may sometimes be the better export choice. A product photo taken with an iPhone, though, is normally best kept as JPG after conversion.
Step 5: Convert and download the JPG files
Start the conversion, then download the finished JPG files.
Give the downloaded folder a clear name if you are working with many images. Something like summer-products-jpg or blog-header-photos-jpg is much better than leaving several nearly identical batches in Downloads.
When working on a website, I also rename important images before uploading them. For example:
-
IMG_4821.JPGbecomesblue-running-shoes-side-view.jpg -
IMG_4822.JPGbecomesblue-running-shoes-sole-detail.jpg
That will not magically rank a page in Google, but clean filenames make your content library much easier to manage later.
Convert HEIC to JPG During Computer Transfer
If you regularly move photos from your iPhone to a Windows PC or Mac, you may not need to convert each image manually.
Your iPhone can convert HEIC images during transfer when a computer needs a more compatible format.
Step 1: Keep High Efficiency enabled if storage matters
Go to:
Settings → Camera → Formats
Under Camera Capture, choose High Efficiency if you want your iPhone to continue taking HEIC photos.
This is useful when you like HEIC’s storage efficiency but only occasionally need JPG copies for a computer, client, or website upload.
Step 2: Set transfers to Automatic
Then open:
Settings → Photos → Transfer to Mac or PC
Choose Automatic.
This tells the iPhone to convert photos during transfer when appropriate, rather than always handing over the original HEIC files.
It is a practical middle ground. You retain HEIC originals on the phone while receiving more compatible files when moving photos to another device.
Be aware that this is a transfer setting, not a universal conversion switch. It does not necessarily change every image you share through every app. If you need a dependable JPG file for a particular upload, manually converting it first is still the safest option.
Make Future iPhone Photos Save as JPG
If you are tired of dealing with HEIC files entirely, you can change the camera setting for future photos.
Step 1: Open Camera settings
On your iPhone, go to:
Settings → Camera → Formats
Step 2: Choose Most Compatible
Under Camera Capture, select Most Compatible.
New photos will now save as JPEG rather than HEIC. Apple describes this option as using JPEG for photos and H.264 for videos, while High Efficiency uses HEIF and HEVC formats. Apple Support
This setting does not convert the HEIC photos already in your camera roll. It only affects new photos you take after changing the option.
Step 3: Decide whether JPG is worth it
For someone who sends photos directly to WordPress, Google Drive folders, clients, or online marketplaces every week, shooting JPG can reduce friction.
For most people, though, I would not switch automatically.
HEIC is still useful when storage space matters, when you mostly stay inside the Apple ecosystem, or when you take many photos before sorting and exporting only a few. Converting only the files you need gives you more flexibility.
Common Mistakes When Converting HEIC Photos
Converting every photo just because one site rejects HEIC
You may only need one or two JPG copies. Converting an entire camera roll creates duplicate files and makes storage management messier.
Keep HEIC originals unless you have a reason to replace them. Export JPG versions only for the places that require them.
Assuming the new camera setting fixes old photos
Switching to Most Compatible affects photos you take from that point onward. It does not turn yesterday’s HEIC images into JPG files.
Existing images still need a browser conversion, an export workflow, or a compatible transfer method.
Uploading huge JPG files without checking dimensions
HEIC-to-JPG conversion solves a compatibility problem, but it does not automatically make an image web-ready.
A modern iPhone photo can still be far larger than necessary for a blog post, landing page, or product page. After conversion, resize oversized images and use sensible quality settings before upload. This helps protect page speed and avoids wasting visitors’ mobile data.
Using PNG for ordinary photographs
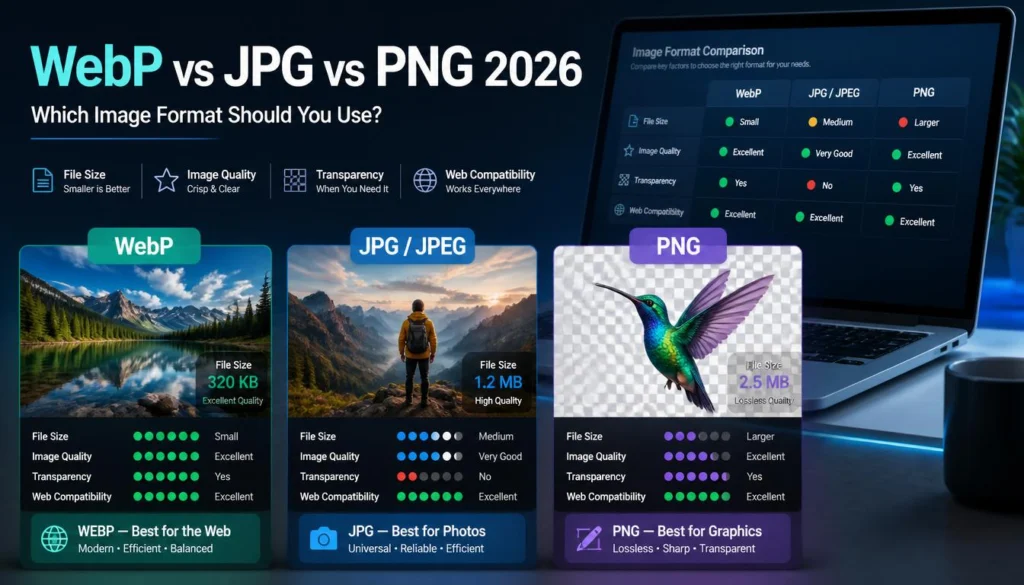
PNG is excellent for screenshots, logos, interface elements, and images that need transparency. For a regular iPhone camera photo, it often creates a larger file with no useful advantage.
Use JPG for photos. Use PNG when transparency or pixel-perfect graphic detail matters.
Repeatedly converting the same JPG
Each JPG export uses lossy compression. If you convert a HEIC photo to JPG, then re-save that JPG again and again at lower quality, visual artifacts can start to appear around fine details, text, hair, and high-contrast edges.
Keep the original HEIC file. Create a fresh JPG export when you need a different size or quality level.
When Should You Use JPG, HEIC, or PNG?
For most bloggers, business owners, and general iPhone users, the rule is simple: keep your original HEIC image, then make a JPG copy when a destination needs broad compatibility.
FAQ
Can I convert HEIC to JPG without an app?
Yes. A browser-based converter lets you upload a HEIC image, select JPG, and download the converted file without installing an iPhone or desktop app.
You can also configure your iPhone to convert compatible media automatically during transfer to a Mac or PC.
Does converting HEIC to JPG reduce quality?
Any JPG export can involve some compression, so it is not identical to keeping the original HEIC file. For normal sharing, blog uploads, and product listings, a high-quality JPG is usually visually indistinguishable in everyday use.
Keep the original HEIC photo if you may want to edit it later or create another export at a different size.
Why won’t my computer open HEIC files?
HEIC support depends on the device, operating system, browser, and application you use. Apple devices generally handle it well, while older systems and some desktop programs may not.
Converting the image to JPG is the quickest compatibility fix when you simply need the photo to open, upload, or send.
Can I make my iPhone take JPG photos instead of HEIC?
Yes. Go to Settings → Camera → Formats and select Most Compatible. Future photos will be captured as JPEG files instead of HEIC files.
This will not convert photos that are already in your library.
Is JPG or HEIC better for WordPress?
JPG is usually the safer format for WordPress uploads because it is universally supported across themes, plugins, optimization services, and visitor devices.
HEIC can be worth keeping as your original, but JPG is the practical delivery format for standard photographic website content.
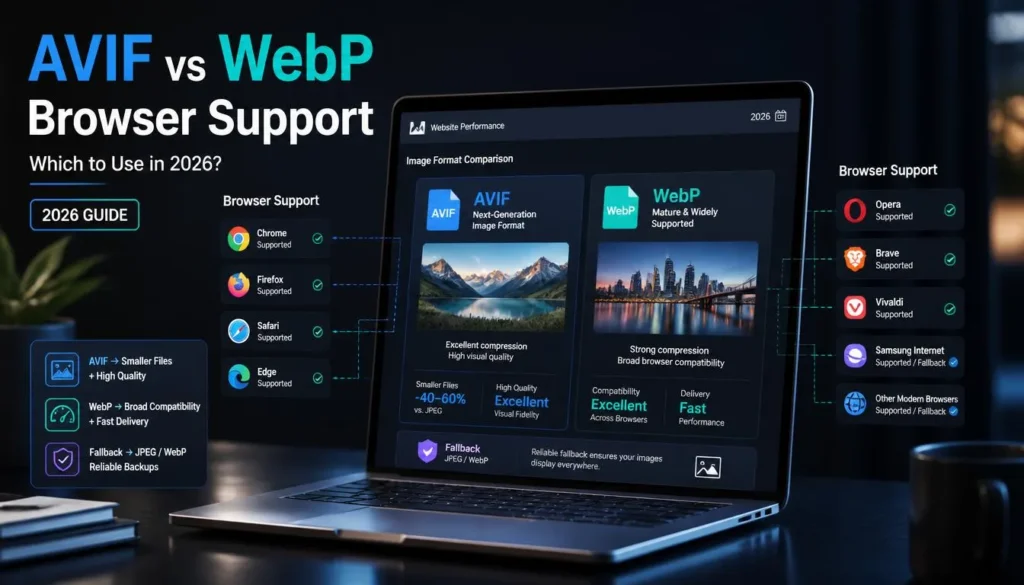
Read also: AVIF vs WebP Browser Support: Which to Use in 2026
A Simple Workflow That Avoids the HEIC Problem
If you publish iPhone photos online, use a two-file approach:
-
Keep the original HEIC photo in your phone library or backup.
-
Export a JPG copy only when you need to upload, share, or submit it.
-
Resize the JPG for its actual destination before placing it on a website.
-
Use descriptive filenames and appropriate alt text when adding the image to WordPress.
That approach avoids unnecessary storage bloat while giving you files that work where you need them.
For a few photos or a quick content upload, converting HEIC files to JPG in the browser is usually the cleanest option.