How to Batch Convert Hundreds of PNG Files to WebP at Once
A folder of 312 PNG files can look harmless until you open it.
The files in this particular batch came from a SaaS documentation project: product screenshots, annotated setup guides, transparent icons, dashboard captures, onboarding graphics, and a few full-width feature illustrations. They were visually consistent, but they were not technically the same type of asset.
That distinction matters. A PNG screenshot with tiny menu labels should not be compressed like a photo. A transparent icon should not be flattened onto a white background. A full-width dashboard image might need resizing before conversion, while a small logo may not need conversion at all.
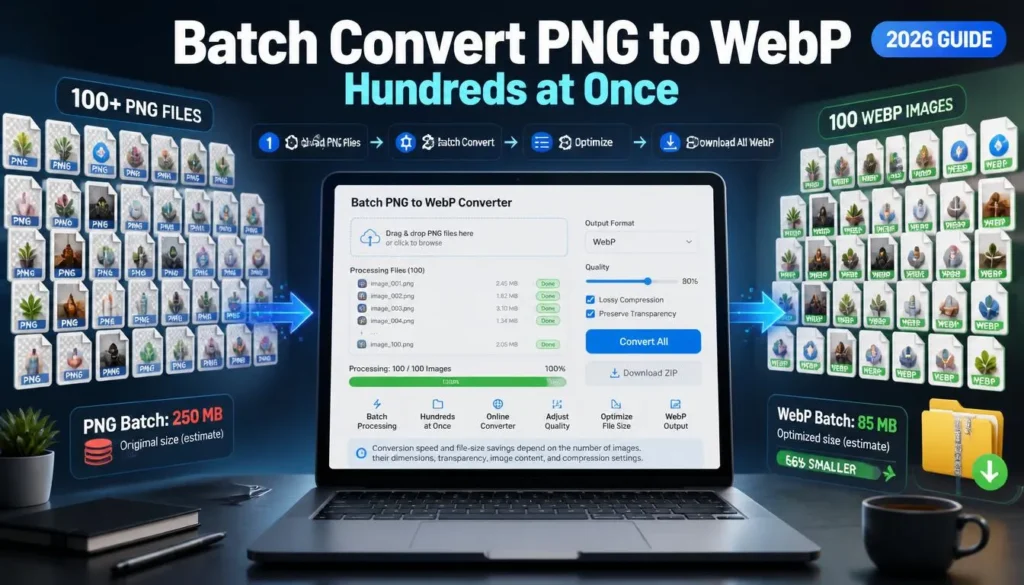
If you need to batch convert PNG to WebP, the safest approach is to group your files by purpose, test a representative set, then process manageable batches instead of converting everything with one setting.
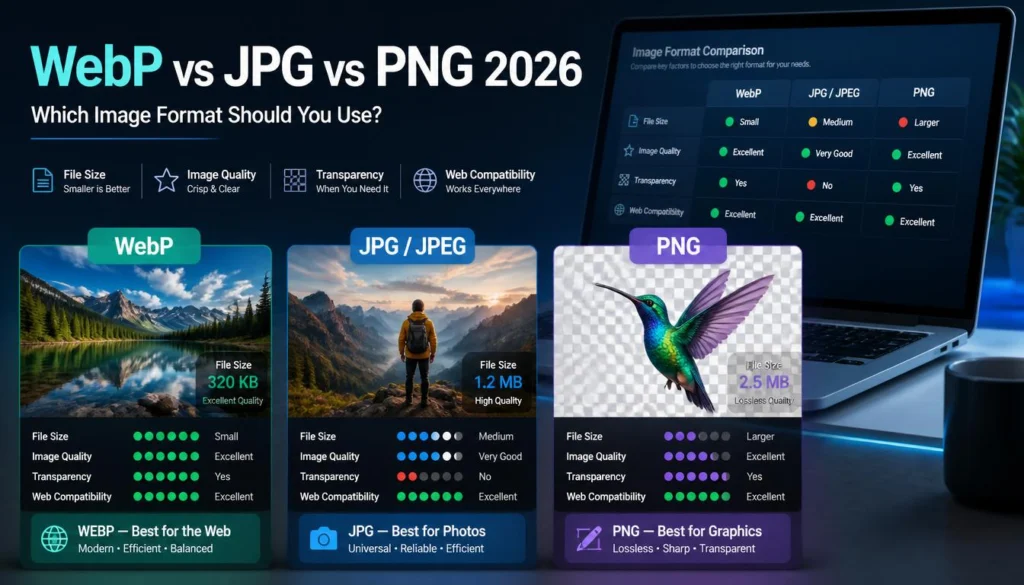
WebP supports both lossy and lossless compression, and it can preserve transparency. That makes it useful for web images that would otherwise stay as large PNG files, but only when you choose the right mode for the asset. Google’s WebP tools document a lossless option for encoding images without quality loss, while preserving transparent-pixel color data may require an exact preservation setting in more advanced workflows. Google WebP documentation
Why PNG Batches Need More Care Than JPG Batches
PNG files are often used because they preserve pixel-level detail.
That makes them a good fit for:
-
Screenshots
-
Software tutorials
-
Admin dashboard captures
-
Interface mockups
-
Product icons
-
Logos
-
Diagrams
-
Charts
-
Transparent cutouts
-
Text-heavy graphics
-
App-store-style promotional images
The same strengths that make PNG useful can also make it heavy.
A large screenshot with gradients, photos, charts, shadows, and small text can become surprisingly large. Multiply that by 100 or 300 files, and your documentation site, WordPress media library, product catalog, or help center can accumulate a lot of unnecessary image weight.
WebP can help, but PNG-to-WebP conversion is not automatically a “smaller is better” task.
For an ordinary photo, lossy WebP is often a straightforward choice. For a screenshot or transparent graphic, you need to decide whether the file can tolerate lossy compression or whether it needs lossless WebP.
Before You Batch Convert PNG to WebP
Do not upload hundreds of images immediately.
First, find out what is actually inside the folder.
Sort files by visual purpose
Create separate groups before converting.
For a documentation-site migration, a practical structure might look like this:
documentation-assets/

├── original-png/

├── screenshots-ui/

├── annotated-tutorials/

├── icons-transparent/

├── charts-diagrams/

├── marketing-graphics/

├── webp-lossless/

└── webp-lossy/
You do not need those exact folder names. The point is to separate images that need different quality treatment.
For example:
-
UI screenshots often need sharp text and clean borders.
-
Transparent icons need alpha transparency preserved.
-
Charts and diagrams need readable labels and crisp lines.
-
Marketing graphics may include photos and can sometimes tolerate lossy compression.
-
Large background visuals may benefit from resizing and lossy WebP.
A batch converter is most useful when the batch contains similar assets.
Check for transparency
PNG frequently contains transparent areas. WebP can preserve transparency, but you still need to test the result in the environment where it will be used.
Transparent pixels matter for:
-
Logos
-
App icons
-
Stickers
-
Product cutouts
-
UI overlays
-
Decorative badges
-
Floating illustrations
-
Images placed over colored website sections
If you convert a transparent PNG to JPG by mistake, the transparent areas will become a solid background. If you use WebP, test the converted file on the actual website background rather than only opening it in a file viewer.
A checkerboard preview can hide edge problems that become obvious on a dark or colored section.
Remove unnecessary images first
Bulk conversion should not become bulk clutter.
Before starting, remove files that do not belong in the final website library:
-
Duplicates
-
Outdated screenshots
-
Old UI designs
-
Files marked “draft” or “test”
-
Images with temporary annotations
-
Screenshots containing personal data
-
Files already converted to WebP
-
Graphics intended only for internal design work
-
Large source exports that are not meant for web delivery
I have seen media libraries filled with five versions of the same onboarding screenshot because nobody cleaned the source folder before uploading.
A smaller, organized batch is easier to convert, review, name, and maintain.
Choose Lossless or Lossy WebP First
This is the decision that determines whether your converted images still look right.
Use lossless WebP for sharp interface assets
Lossless WebP is usually the safer option for images where every pixel matters.
Choose it for:
-
Screenshots with small text
-
Code snippets
-
Dashboards
-
Tables
-
Charts
-
Fine diagrams
-
Icons
-
Logos
-
Technical illustrations
-
Transparent UI elements
-
Text-heavy tutorial images
Lossless conversion is not always the smallest possible output, but it avoids the visible softening that lossy compression can introduce around text, thin lines, and sharp color transitions.
A support article is not useful if the screenshot loads quickly but users cannot read the field label they are supposed to click.
Use lossy WebP for photo-heavy PNG graphics
Lossy WebP can work well for PNG files that are mostly photographic or decorative.
Choose it for:
-
Large hero illustrations with photographic content
-
Social-media graphics with large text
-
Product lifestyle images
-
Visual case-study banners
-
Background artwork
-
Screenshots dominated by large images rather than tiny labels
-
Promotional images where small text has already been kept large
Lossy WebP can often reduce file size more aggressively, but inspect the result closely.
Look at:
-
Text edges
-
Curved icons
-
Gradients
-
Drop shadows
-
Blurred backgrounds
-
Photos inside the graphic
-
Fine patterns
-
Colored borders
-
Small badges or labels
If the image looks clean at its actual website size, the lossy version may be suitable. If it looks even slightly muddy around important text, use lossless WebP or keep the PNG.
How to Batch Convert Hundreds of PNG Files to WebP
1. Keep the PNG originals in a separate folder
Do not overwrite your original PNG files.
PNG assets are often used in design workflows because they preserve lossless data and transparency. Once you convert them, you may still need the originals for editing, a different crop, a new color treatment, or export to another format.
Use a folder setup such as:
project-assets/

├── originals-png/

├── selected-for-web/

├── webp-lossless/

└── webp-lossy/
This gives you a clean source archive and makes it obvious which files are ready for publishing.
2. Create a small test batch
Pick five to eight representative PNG files.
Include a mix such as:
-
A screenshot with tiny text
-
A transparent logo or icon
-
A dashboard with charts
-
A diagram with fine lines
-
A photo-heavy graphic
-
A dark interface screenshot
-
A light interface screenshot
-
An image with gradients or shadows
Do not choose only the easiest files. A simple icon with flat colors may look great in almost any format. Your test needs to include the assets most likely to expose a quality problem.
Convert those first and compare them with the originals.
3. Review at the size visitors will see
Do not review the finished files only at 300% zoom.
Open them at the approximate dimensions used in the site. A documentation screenshot might appear at 800 pixels wide in a desktop article and around 350 pixels wide on mobile. A product icon might display at 48 pixels square. A hero graphic may span the entire page width.
Check whether the useful details remain clear:
-
Can readers still see menu labels?
-
Are line breaks and text readable?
-
Do icons look clean against the page background?
-
Are transparent edges smooth?
-
Do charts still show their labels clearly?
-
Are there artifacts around borders or shadows?
WebP conversion is successful when the image remains useful in its real context, not when it looks perfect under extreme magnification.
4. Resize oversized PNG files before conversion
Many PNG screenshots are larger than their final display area.
A screenshot captured on a high-resolution monitor may be 2,800 pixels wide, while the documentation page displays it at 900 pixels. Converting the full-size file to WebP can reduce its weight, but resizing first can make a much bigger difference.
Resize based on the image’s job:
Do not shrink every image to one fixed width. A 48-pixel icon and a 1,200-pixel tutorial screenshot should not be processed as if they serve the same purpose.
5. Convert similar PNGs in batches
Once the test batch looks right, move through the rest of the images by group.
For a simple browser workflow, you can convert a prepared PNG image batch into WebP copies without installing desktop conversion software.
A practical order might be:
-
Transparent icons and logos
-
UI screenshots
-
Charts and diagrams
-
Tutorial graphics
-
Promotional graphics
-
Photo-heavy PNGs
Keep the batch size manageable. Smaller groups make it easier to spot a file that needs another setting, a bad source image, or an accidental duplicate.
For hundreds of images, I would rather review ten batches of 25 to 40 files than attempt one huge run and discover later that every screenshot has slightly softened text.
6. Keep filenames consistent
Do not let the conversion process create an unmanageable set of names.
A clean pattern might look like this:
wordpress-dashboard-plugin-settings.png

wordpress-dashboard-plugin-settings.webp
mobile-checkout-error-screen.png

mobile-checkout-error-screen.webp
product-feature-icon-transparent.png

product-feature-icon-transparent.webp
The .webp extension already identifies the format, so you usually do not need to add “webp” to the filename itself unless your internal workflow benefits from it.
For multiple sizes or uses, add a useful descriptor:
account-settings-desktop.webp

account-settings-mobile.webp

account-settings-thumbnail.webp
This makes later updates much easier.
7. Test converted files in the website or CMS
Before uploading the entire batch, test a few WebP files in the real environment.
Add examples to a draft WordPress post, staging site, help-center article, landing page, or product page. Check them on desktop and mobile.
Look for:
-
Browser display problems
-
Incorrect transparency
-
Blurry small text
-
Theme-specific cropping
-
Lazy-loading behavior
-
Incorrect responsive-image sizes
-
Caching issues
-
Unexpected replacement by an optimization plugin
A file can look correct in your Downloads folder and still look wrong inside a page builder, content block, slider, gallery, or card layout.
Common Mistakes With Large PNG-to-WebP Batches
Applying lossy compression to all screenshots
This is the quickest route to soft text and unclear UI details.
Lossy WebP can be useful for some screenshots, especially wide, photo-heavy captures. But technical documentation images often need lossless quality or a very cautious setting.
Test the smallest text in the screenshot. If it is not crisp enough, do not use that export.
Forgetting to test transparent assets on real backgrounds
A transparent icon may look fine over a checkerboard preview but show halos or edge issues on a colored website section.
Test transparent WebP files against white, dark, and branded background colors if the asset may appear in different places.
Converting duplicate sizes without a reason
A folder may include:
dashboard.png

dashboard-1.png

dashboard-final.png

dashboard-final-2.png

dashboard-crop.png
Do not convert every version blindly.
Identify the final approved file first. Then convert only the versions that serve a specific web layout or responsive need.
Using WebP for every asset automatically
WebP is useful, but it does not replace good asset choices.
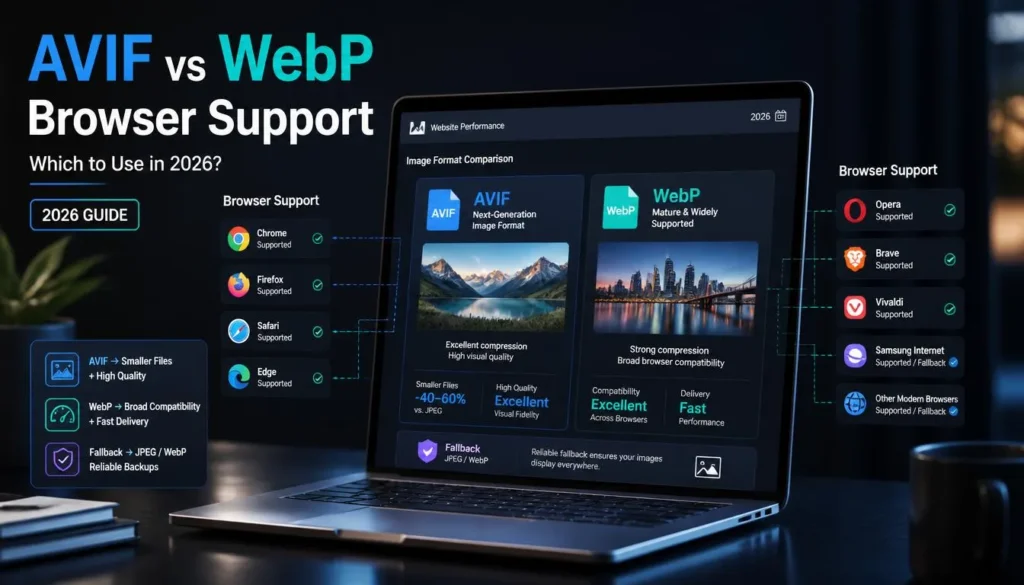
Keep SVG for genuine vector logos and icons where appropriate. Keep PNG for files that need a particular workflow or compatibility behavior. Use WebP for assets that benefit from it after testing.
Deleting source PNG files
This is a painful mistake because PNG is often the editable master asset for a screenshot or graphic.
Keep the originals outside the website media library. Treat WebP as the delivery copy.
Ignoring responsive layouts
A detailed desktop screenshot can become unreadable on a phone even if the WebP file itself is sharp.
For wide tutorial images, consider:
-
A separate mobile crop
-
A larger displayed version with horizontal scrolling where appropriate
-
A tighter screenshot focused on the relevant control
-
A sequence of smaller screenshots rather than one huge capture
The right image format cannot solve a layout problem by itself.
When You Should Keep PNG Instead
Do not force a WebP version if the PNG is already small, visually clean, and working well.
Keep PNG when:
-
A third-party platform specifically requires PNG
-
The asset is a small transparent logo that is already lightweight
-
The image has delicate line art that does not survive your chosen WebP workflow
-
A client or designer needs PNG for continued editing
-
You need maximum predictability in a legacy workflow
-
The WebP export provides little or no useful size reduction
-
The site’s CMS, plugin, email tool, or marketplace does not support WebP reliably
The right question is not “Can I convert this PNG to WebP?” It is “Does WebP improve this asset’s web delivery without harming how it works?”
If the answer is no, keep the PNG.
FAQ
Can I batch convert PNG to WebP for free?
Yes. You can use a browser-based image converter to process multiple PNG files into WebP copies without installing desktop software. For large collections, work in manageable groups and check a sample before processing the entire folder.
Keep the PNG originals in a separate archive.
Does WebP preserve PNG transparency?
WebP supports transparency, so transparent PNG assets can be converted to WebP. Test the result on the real background colors used by your website, especially for logos, icons, and images with soft edges.
A format’s transparency support does not guarantee that every conversion setting produces the exact visual result you want.
Is lossless WebP better than PNG?
Not automatically. Both formats can preserve image detail without lossy compression. WebP may produce a smaller file in some cases, but the result depends on the image content and the converter settings.
For screenshots, icons, diagrams, and transparent graphics, compare a few real files before deciding which format to use for the entire batch.
Should I convert screenshots from PNG to WebP?
Often, yes—but test them carefully.
For documentation screenshots with small text, use lossless WebP or a high-quality export and inspect the text at the displayed page size. If labels, icons, or fine lines look soft, keep PNG instead.
Can I upload WebP files to WordPress?
Modern WordPress setups generally support WebP uploads, but actual behavior may depend on your WordPress version, hosting configuration, theme, plugins, CDN, and image-optimization setup.
Test a few converted files on a staging page or draft post before migrating hundreds of assets.
Convert in Groups, Then Verify
Hundreds of PNG files do not need hundreds of manual conversions.
They do need a sensible workflow: preserve originals, separate the asset types, choose lossless or lossy WebP intentionally, test representative files, resize oversized images, and review the output in the real website layout.
Once that groundwork is done, batch conversion becomes quick. More importantly, you end up with WebP assets that are actually lighter, clear, and ready to publish—not just files with a new extension.