How to Convert JPG to WebP Online in Seconds
There were 186 JPG files in the media library.
Most were completely ordinary: office photos, staff headshots, before-and-after images, a few service-area maps, and plenty of stock-style hero images uploaded over several years. None looked unusually large when viewed one by one. Together, though, they were doing real damage to the mobile experience on the site.
The category pages loaded image after image before a visitor could even reach the first service description. The fix was not complicated. The important part was making the conversion carefully instead of turning every JPG into WebP at random and hoping for the best.
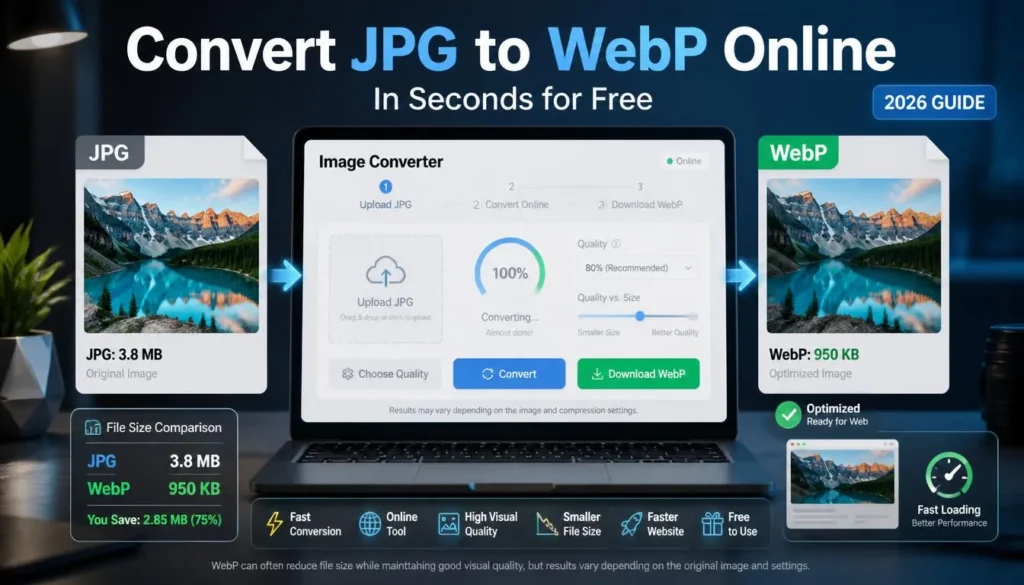
If you need to convert JPG to WebP online, you can do it in a browser in a few seconds. The larger benefit comes from knowing which images to convert, what quality to use, and how to check that the finished files still look right on the actual page.
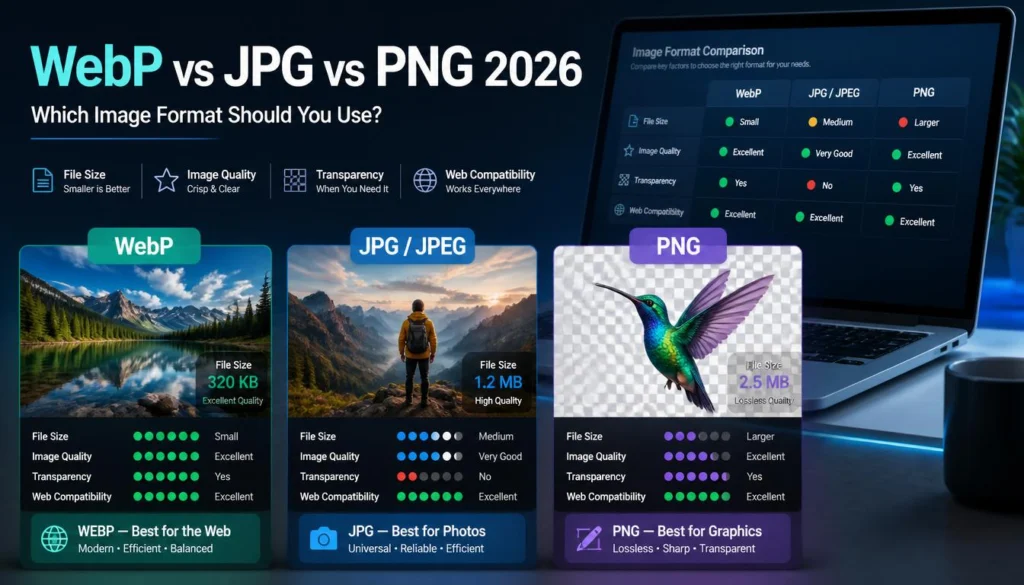
WebP supports lossy and lossless compression, transparency, and animation. For ordinary website photography, lossy WebP is usually the useful choice because it can often reduce file weight while keeping the image looking very close to the original at normal display size. Google’s WebP documentation describes the format as an alternative to JPEG and PNG for smaller web images.
Why Convert JPG Images to WebP?
JPG remains one of the most useful image formats ever created. It is widely supported, easy to share, and usually works well for photographs.
The problem is not that JPG files are bad. The problem is that many websites use more JPG weight than they need to.
A typical WordPress site may accumulate large JPG files through:
-
Camera uploads from phones and DSLR cameras
-
Stock-photo downloads
-
Client-provided folders
-
Old blog posts with full-resolution images
-
WooCommerce product galleries
-
Featured images uploaded without resizing
-
Staff photos, portfolio shots, and case-study visuals
-
Email newsletter images reused on landing pages
WebP was created for web delivery. It gives you another way to balance file size and visual quality. For many photographs, a well-exported WebP can be smaller than its JPG source while still looking clean in the browser.
That matters most when a page contains several images.
One lightweight image may not change much. A homepage with a hero image, three service cards, two testimonials, a gallery strip, and a footer graphic is a different situation. Reducing unnecessary image weight across that page can make the experience feel noticeably quicker, especially for visitors on mobile connections.
Before You Convert: Identify the Images Worth Optimizing
Do not begin by converting every JPG in your computer folder.
Start with the images that are visible, frequently loaded, or unnecessarily large. These are usually the best candidates:
-
Homepage hero images
-
Blog featured images
-
Category-page thumbnails
-
WooCommerce product photos
-
Gallery images
-
Portfolio images
-
Location or service-area photos
-
Large in-content images
-
Background photos used in page builders
For a local services site, I would normally start with the homepage and the top traffic pages. For an e-commerce store, focus on category pages and product galleries. For a blog, inspect recent high-traffic posts before spending time on articles that receive almost no visits.
You should also look at the actual dimensions of each image.
A 4,000-pixel-wide JPG may be reasonable as an archived original. It is rarely necessary for a 700-pixel-wide blog image. Converting it to WebP helps, but resizing it to match the layout often helps even more.
Format and dimensions work together.
How to Convert JPG to WebP Online
A browser-based converter is useful when you need a few files quickly or want to prepare a small batch before uploading images to WordPress.
1. Keep your original JPG files
Never treat WebP conversion as a reason to delete the source files.
Your original JPG may be needed later for:
-
A print layout
-
An email attachment
-
A marketplace that does not accept WebP
-
A social-media upload
-
A client handoff
-
A different crop or image size
-
A new WebP export at another quality level
Store originals separately from web-ready files. A simple folder structure works well:
-
original-jpg -
webp-website -
social-images -
email-images
This prevents a familiar problem: someone asks for a high-resolution original six months later, and the only version left is a small, compressed web export.
2. Resize for the page layout first
Before converting, decide where the image will appear.
A full-width banner, a blog content image, and a product-card thumbnail should not all use the same dimensions. Uploading massive files and relying on the browser to shrink them is wasteful, even if those files are WebP.
Use the final display area as your guide:
-
Large hero images need more width than standard content images.
-
Blog images should suit the width of the article column.
-
Product cards need enough detail for shoppers without using full camera dimensions.
-
Thumbnails and small icons should be compact.
-
Mobile layouts often need different crops or sizes from desktop banners.
For example, if a service-card image displays at roughly 400 pixels wide, a full-size 3,000-pixel JPG converted directly to WebP may still be more than the page needs. Resize the image first, then convert it.
You will get a cleaner result and a more useful file size.
3. Upload the JPG file to an online converter
Once your image is resized or selected, open an online conversion tool and upload the JPG.
You can create WebP versions of your JPG website images in the browser, without installing desktop software. Select the JPG file, choose WebP as the output format, convert it, and download the finished image.
For a small batch, name your files clearly before upload. This becomes important when several photos look similar, such as:
-
kitchen-remodel-before.jpg -
kitchen-remodel-after.jpg -
kitchen-remodel-after-wide.jpg -
kitchen-remodel-after-mobile.jpg
Clear names reduce the chance of uploading the wrong version to a live page.
4. Start with a sensible quality setting
Quality settings are where the real judgment happens.
A high WebP quality setting typically preserves more visual detail but creates a larger file. A lower setting reduces file weight more aggressively but can introduce softness, artifacts, or strange texture handling in detailed images.
For most standard website photography, begin at a reasonably high setting rather than trying to produce the smallest possible file immediately.
Then inspect the result.
Pay close attention to:
-
Faces and hair
-
Text on product packaging
-
Brickwork, wood grain, leaves, and fabric texture
-
Bright edges around windows or objects
-
Fine details in before-and-after project photos
-
Smooth gradients in walls, skies, or studio backgrounds
-
Logos or lettering that appear inside the image
A clean WebP at a slightly larger file size is better than a tiny file that makes a service page look cheap.
I have seen overly compressed exterior photos turn roof shingles and tree branches into a soft, messy texture. Visitors may not describe the issue technically, but they notice that the page feels less polished.
5. Download and test the WebP image
After conversion, download the WebP file and place it where you can compare it with the JPG original.
Open both files at the size they will actually appear on the page. This matters more than inspecting them at extreme zoom.
A full-resolution comparison can make small differences look dramatic. A visitor viewing a 700-pixel-wide blog image on a phone will not experience the file the same way you do at 300% zoom on a large monitor.
Check for:
-
Obvious softening
-
Blocky artifacts
-
Color shifts
-
Banding in smooth backgrounds
-
Blurred small text
-
Cropping issues
-
Unexpected file-size savings that are too small to justify the effort
If the WebP looks right at normal viewing size, it is ready to use.
JPG to WebP Quality: What Actually Changes?
Converting a JPG to WebP does not restore detail already lost in the JPG source. It also does not improve a blurred, noisy, or poorly lit photo.
What it can do is package the existing image more efficiently for website delivery.
That difference is worth understanding.
If you start with a reasonably good JPG, WebP may let you reach a similar visual result with a smaller file. If you start with a heavily compressed JPG that already has visible artifacts, converting it to WebP will not make those artifacts disappear.
Think of WebP as an efficient delivery format, not a repair tool.
Common Mistakes When Converting JPG to WebP
Converting an oversized original without resizing it
WebP helps, but it cannot fully compensate for excessive dimensions.
A 5,000-pixel-wide image converted to WebP may still be unnecessarily large for a page where it appears at 800 pixels wide. Resize first whenever you know the target layout.
Repeatedly converting the same file
Avoid this chain:
JPG → WebP → JPG → WebP → lower-quality WebP
Each lossy step can create more visible damage. Keep the original JPG as your source and generate fresh WebP exports from it when you need a different size or quality setting.
Using WebP for every type of image
WebP is flexible, but not every image needs the same treatment.
For photographs, lossy WebP is often a strong choice. For transparent logos, SVG or PNG may be more appropriate. For screenshots with tiny text, PNG or lossless WebP may keep the detail cleaner.
Choose based on the image and the destination.
Forgetting to test mobile layouts
A photo may look perfect on a desktop page and fail on mobile because the theme crops it differently.
Check your hero images, featured images, cards, and galleries at smaller screen widths. The focal point should still be visible, and the image should not become too soft after the layout changes.
Uploading both JPG and WebP without a plan
Do not fill your WordPress media library with duplicate full-size JPG and WebP files unless you have a clear strategy.
Some optimization plugins generate and serve WebP versions automatically from original uploads. Others require you to upload WebP files manually. Know which workflow your site uses before creating duplicates.
If you manually upload WebP files, keep the source JPGs in your project archive rather than leaving unnecessary copies in the public media library.
When Should You Use JPG Instead?
JPG is still a good choice when you need maximum compatibility.
Use JPG if you are:
-
Sending images by email
-
Uploading to a legacy system
-
Giving files to clients who may use older tools
-
Sharing photos through services with uncertain WebP support
-
Submitting images to a platform that specifically requests JPG
-
Preparing files for a standard photo-printing workflow
For your website, WebP is often the more efficient delivery choice. For general sharing beyond the web, JPG remains the safer all-purpose format.
The best workflow is usually not “replace every JPG forever.” It is “keep the original JPG and use WebP where web performance matters.”
FAQ
Can I convert JPG to WebP online for free?
Yes. Browser-based image converters can create WebP versions of JPG files without requiring a desktop application or an account for basic conversions.
For website work, convert a copy of the JPG and keep the original stored separately.
Does converting JPG to WebP reduce image quality?
It can, depending on the quality setting you choose. Lossy WebP compression removes some image information, but a properly configured export can look very close to the original at normal display size.
Always compare the WebP version with the JPG source before publishing.
Is WebP smaller than JPG?
Often, yes, particularly when both files are set to a similar visual quality. The exact result depends on the image content, dimensions, and compression settings.
Photos with natural detail, gradients, and textures may benefit differently from graphics, screenshots, or images with transparency.
Can WordPress use WebP images?
Modern WordPress installations can generally upload and display WebP images, but the full workflow may still depend on your hosting setup, theme, image optimization plugin, CDN, and caching configuration.
Test one image first before converting an entire media library.
Should I convert all existing JPG files to WebP?
Usually not all at once.
Begin with the images that affect real pages: homepage visuals, high-traffic blog images, category thumbnails, product galleries, and large featured images. Prioritize the pages visitors see most often, then expand the process if the results are useful.
A Faster Image Workflow for Your Site
A good image workflow is simple enough to repeat:
-
Keep an original JPG outside the public website media library.
-
Resize the image for its real page location.
-
Convert the prepared copy to WebP.
-
Check detail, colors, and cropping at desktop and mobile sizes.
-
Upload the finished WebP file or use your site’s existing optimization workflow.
-
Clear relevant caches and confirm visitors receive the new image.
When you convert JPG to WebP online with this process, the change is more than a file-extension swap. You are making images easier for browsers to deliver and easier for visitors to load without sacrificing the visual quality that made you choose the photo in the first place.