How to Convert PNG to JPG Without Losing Quality
A set of 24 product mockups looked perfect in the design folder. Crisp lettering. Sharp edges. Clean brand colors.
Then the client tried sending them in an email campaign review and hit an attachment-size limit almost immediately. The files were PNGs, which made sense while the designer was still editing layouts and preserving transparent elements. But for the final review pack, the images needed to be smaller, widely compatible, and easy to open anywhere.
That is when people ask how to convert PNG to JPG without losing quality. The honest answer is slightly more nuanced than most quick tutorials make it sound: JPG is a lossy format, so a conversion cannot be mathematically identical to the original PNG. Still, with the right export settings, proper image dimensions, and a sensible source file, you can create JPGs that look virtually unchanged at normal viewing size.
The goal is not to preserve every hidden pixel. It is to preserve the visual quality that matters to the person viewing the image.
Why PNG Files Often Become Too Large
PNG is a lossless image format. It is excellent for screenshots, logos, diagrams, UI elements, text-heavy graphics, and images with transparent backgrounds.
That lossless behavior is useful during design work. A PNG can preserve clean edges and avoid the compression artifacts that sometimes appear around text, icons, and high-contrast details in JPG files.
The downside is file size.
A large PNG photograph or product mockup can be several times heavier than a visually similar JPG. This becomes a problem when you need to:
-
Send images by email
-
Upload product images to a marketplace
-
Share files through messaging apps
-
Add many images to a blog post
-
Keep a client-download folder manageable
-
Meet a platform’s upload-size limit
-
Reduce page weight on an image-heavy website
JPG was designed as a lossy compression method for photographic images. It can reduce file size effectively, particularly for full-color photos and images with natural gradients. The JPEG standard describes JPEG as a lossy compression method standardized by ISO.
The key is using JPG where it fits. A photo of a product on a wooden table is usually a good JPG candidate. A logo with a transparent background is not.
When PNG to JPG Is the Right Move
Before converting anything, check whether JPG is truly the better destination format.
Convert PNG to JPG when you are working with:
-
Product photographs on solid backgrounds
-
Large social-media images without transparency
-
Blog images and article illustrations
-
Email attachments
-
Client proofing images
-
Marketplace uploads that do not need transparent backgrounds
-
Full-color promotional graphics with photographic elements
-
Event photos, food photos, interiors, and lifestyle imagery
Keep PNG when the original includes:
-
A transparent background
-
Fine text that must remain extremely sharp
-
A logo, icon, or badge
-
A screenshot with small UI details
-
A diagram, chart, or technical illustration
-
Hard-edged line art
-
An asset that will be edited repeatedly
This is where many image workflows go wrong. The person converting files sees that JPG is smaller, converts everything, and only later discovers a white rectangle behind a logo or fuzzy text around a price label.
JPG is not a universal replacement for PNG. It is a practical output format for the right type of image.
Before You Convert: Check for Transparency
PNG supports transparent areas. JPG does not.
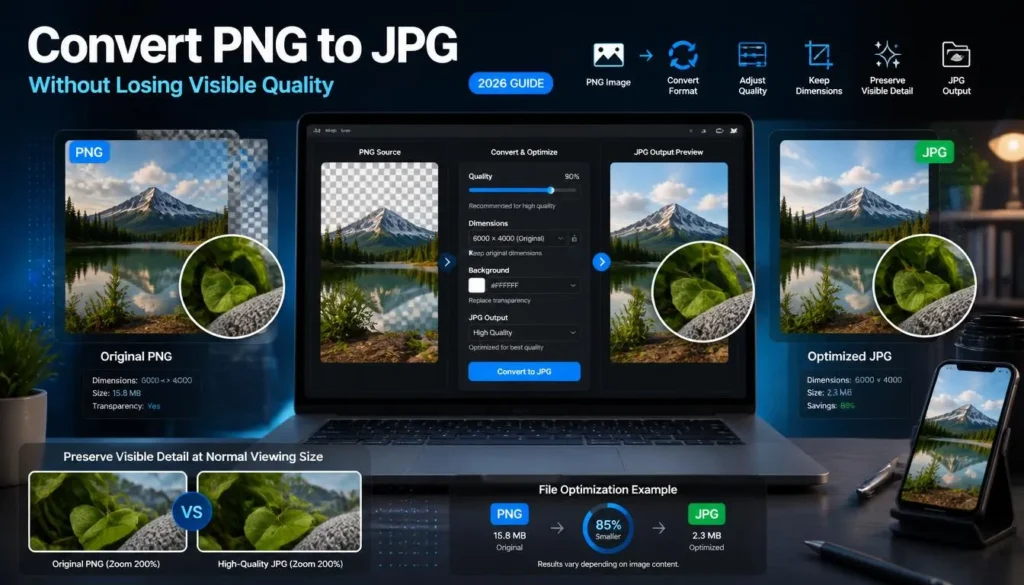
If your PNG has a transparent background, converting it to JPG means those transparent pixels must become a solid color. In most cases, that color is white.
For example, imagine a cut-out shoe product image with no background. As a PNG, it can sit cleanly over a colored website section, an ad creative, or a product card. Convert it to JPG, and the transparent area will typically become a white box.
That may be fine if the final destination has a white background. If the image will appear on a dark, patterned, or colored page, it will usually look wrong.
Before exporting, decide what should replace transparency:
-
White for white product pages, documents, and email attachments
-
A brand color for social graphics
-
A color matching the final website section
-
A photographed or designed background added in an editor
-
No conversion at all if transparency is necessary
Do not let the converter choose the visual result by accident. Set the background deliberately.
How to Convert PNG to JPG Without Losing Visible Quality
The following process works well for product images, blog graphics, client proof files, and most regular photographic PNGs.
1. Keep the original PNG untouched
Always preserve the source file.
Create a separate output folder for JPG copies rather than replacing the PNG. The original may be needed later for a transparent version, a print layout, a design revision, or a higher-quality export.
A simple structure is enough:
-
original-png-files -
jpg-for-email -
jpg-for-website -
jpg-for-marketplace
This is especially helpful when working with client assets. You do not want to be the person who flattened a transparent logo into JPG and deleted the only usable original.
2. Confirm the final display size
The biggest quality mistake is often not the file-format conversion. It is exporting the image at a wildly inappropriate size.
If an image will appear at 800 pixels wide in a blog post, exporting a 4,000-pixel-wide JPG may create a heavier file than necessary. If you shrink it too aggressively, it can look soft on high-density displays.
Start with the dimensions required by the destination:
-
For email and client reviews, use dimensions that are easy to view without enormous attachments.
-
For product listings, follow the marketplace’s recommended image size.
-
For blog images, match your content column or featured-image layout.
-
For social media, use the platform’s preferred canvas dimensions.
-
For print, use the designer’s requested dimensions and format instead of guessing.
Resize once from the original PNG, then convert that resized copy to JPG. Avoid repeatedly resizing a JPG after it has already been compressed.
3. Choose a high JPG quality setting
Most browser converters and image editors let you choose a JPG quality level.
For product photos and polished marketing images, start near the high-quality end of the available range. Then inspect the result. If the file is still too large, reduce quality gradually and compare each version at its actual display size.
Do not jump straight to a low setting because the number looks efficient.
The visible trouble spots are usually:
-
Small text on packaging
-
Fine hair or fur
-
Leaves, grass, and intricate textures
-
Repeating patterns in fabric
-
Edges between dark and light areas
-
Gradients in skies, walls, or studio backdrops
-
Thin lines in graphic layouts
If those areas still look clean, you have likely found a reasonable balance.
A JPG that is slightly larger but looks right is usually better than a tiny file that makes a product look cheap.
4. Set a background color for transparent PNGs
If the PNG contains transparency, choose a background before converting.
For a white product listing page, white is usually the practical choice. For a social post with a dark blue background, flatten the product image onto that same blue background before exporting to JPG.
This avoids the awkward white box effect.
If the original image is a logo, icon, or design element that must remain reusable across different backgrounds, do not convert it to JPG. Keep the PNG, or consider a format such as SVG if the asset is vector-based and your workflow supports it.
5. Convert the PNG file to JPG
Once you have confirmed the size, quality setting, and background, convert the file.
For a straightforward browser workflow, you can export PNG graphics as lightweight JPG files without installing separate software. Upload the PNG, select JPG, review the output, and download the final copy.
Use a new filename so the original and converted versions cannot be confused. A useful pattern might be:
-
summer-shoes-product.png -
summer-shoes-product-email.jpg -
summer-shoes-product-blog.jpg
The suffix tells you where each version belongs.
6. Compare the JPG with the original
Do not skip this step, particularly for branded graphics and e-commerce images.
Open the original PNG and the new JPG side by side. View them at the approximate size people will actually see. If the JPG will appear inside a product card, inspect it in a product-card-sized window rather than judging it only at full-screen zoom.
Look for:
-
Blurry text
-
Fuzzy logo edges
-
Blockiness around sharp contrast
-
Color shifts in brand colors
-
Unwanted white or colored backgrounds
-
Softened product details
-
Banding in smooth gradients
If you cannot see a meaningful difference at the intended display size, the conversion has done its job.
PNG vs JPG: What Changes During Conversion?
The practical difference is simple: PNG prioritizes exact pixel preservation, while JPG prioritizes smaller file sizes for photographic imagery.
That does not make JPG “bad quality.” It means JPG asks you to make a trade-off. At a sensible setting, that trade-off is often invisible to the viewer and helpful for loading speed, storage, and sharing.
Common Mistakes That Reduce JPG Quality
Converting text-heavy graphics to JPG
A presentation slide, pricing chart, UI screenshot, or coupon design may look fine as a PNG but become visibly soft after JPG compression.
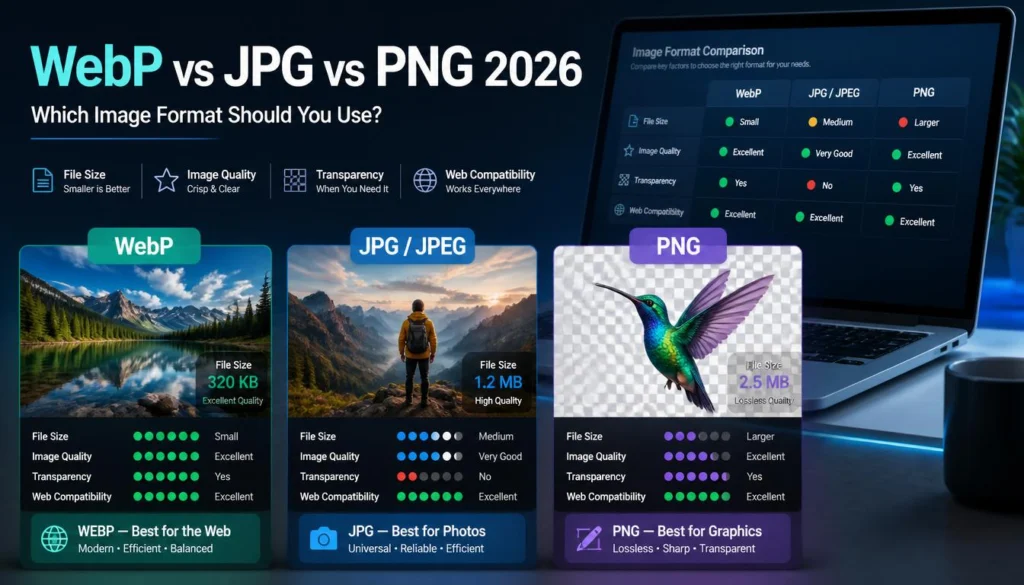
If small text must stay crisp, keep PNG. If the image must be smaller for web use, test WebP as an alternative, especially if transparency is not required.
Using a low-quality setting immediately
Low-quality JPG exports create the obvious problems people associate with “bad compression”: blotchy colors, ringing around edges, blockiness, and smeared textures.
Start high, inspect the result, then step down only if you need a smaller file.
Converting a JPG again and again
Avoid this chain:
PNG → JPG → edited JPG → smaller JPG → compressed JPG
Each lossy JPG export can remove more visual information. Instead, return to the original PNG whenever you need a new size or quality level.
Keep one master source. Generate output copies from that source.
Forgetting about transparent backgrounds
A transparent PNG may look right in a design program, then turn into a white rectangle after JPG conversion.
Choose the final background color before exporting. If you need transparency later, retain the PNG original.
Treating file size as the only goal
A 30 KB image is not a success if it makes a product label unreadable or a client’s brand colors look washed out.
Aim for the smallest file that still looks right in its intended place. That is the useful definition of optimization.
Better Alternatives for Some Images
Sometimes JPG is not the answer.
Use PNG for logos and screenshots
Keep PNG for logos, icons, diagrams, and screenshots that include sharp text or interface details. These images benefit from lossless rendering and may need transparency.
Use WebP for website photographs
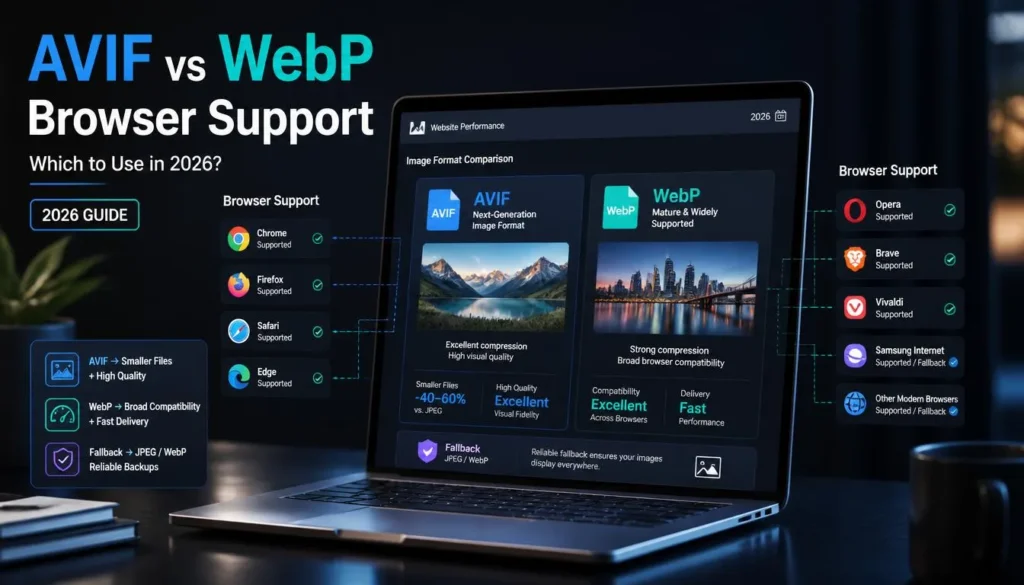
If you are optimizing a website rather than preparing email attachments or broad-compatibility files, WebP can be a stronger choice for many photographic images.
WebP supports lossy and lossless compression, and it can also support transparency. That makes it flexible for web publishing. A product photo that needs to load quickly on a WordPress page may work better as WebP than as a large PNG or standard JPG.
Use JPG for universal sharing
JPG remains useful because it opens almost everywhere. When you send images to clients, upload to legacy systems, attach files to email, or prepare a simple photo folder, JPG is still the safe option.
Use the format that fits the destination. There is no prize for forcing every image into one file type.
FAQ
Can I convert PNG to JPG with no quality loss?
Not in the strictly technical sense. Standard JPG compression is lossy, while PNG is lossless.
You can, however, export a high-quality JPG that looks virtually identical to the PNG at normal viewing size. The best result comes from using sensible dimensions, a high quality setting, and a clean original source.
Why does my JPG have a white background?
Your original PNG likely included transparent areas. JPG does not support transparency, so those pixels must be filled with a solid color, commonly white.
Choose the background color before conversion if white does not suit the final design.
Is JPG better than PNG for website images?
For ordinary photographs, JPG is often much smaller than PNG and is broadly compatible. For screenshots, logos, graphics with text, and transparent images, PNG is usually the better choice.
For modern websites, WebP is also worth considering for photographic images because it is designed for efficient browser delivery.
Will converting PNG to JPG make the image blurry?
It can if you use a low-quality setting, resize too aggressively, or repeatedly re-save the JPG. At a high quality level and appropriate dimensions, a JPG can remain visually sharp for most photo-based uses.
Text-heavy graphics and fine line art are more likely to show visible degradation, which is why PNG is usually better for those assets.
Should I delete the PNG after converting it to JPG?
No. Keep the original PNG as your master file.
You may need it later for a transparent version, an updated design, a different output size, or a higher-quality export. Use JPG as a delivery copy, not a replacement for the original.
Convert for the Destination
The best way to convert PNG to JPG without losing visible quality is to avoid treating the task as a one-click format swap.
Check for transparency. Set the final dimensions. Use high-quality JPG output. Compare the result where it will actually be seen. Then keep the PNG original safely stored.
For photos, mockups, and client-ready image packs, that workflow gives you smaller JPG files without the obvious damage people worry about.