How to Convert and Compress Screenshots for Sharing
Thirty-six screenshots. A bug report due before a developer handoff. And a team chat that refused to upload the full folder because the files were too large.
The screenshots were not photos. They were ordinary browser captures: admin panels, mobile layouts, payment errors, broken buttons, and a few long pages with highlighted sections. Yet several were larger than expected because they were high-resolution PNGs captured on a modern display.
That is where knowing how to convert screenshot to JPG PNG becomes useful. The right format can make a screenshot easier to send, easier to upload, and easier for someone else to open—without turning the text into a blurry mess.
The mistake is assuming that every screenshot should become a JPG because JPG files are usually smaller. Sometimes that works. Often, it makes interface text, icons, and thin borders look worse than they need to.
First: Decide What the Screenshot Is For
Before changing the file format, ask one question:
What does the recipient need to see?
A screenshot for a casual chat message has different requirements from a screenshot attached to a technical bug report. A screenshot included in a WordPress tutorial needs a different format from one placed inside a presentation.
Here is a quick way to decide.
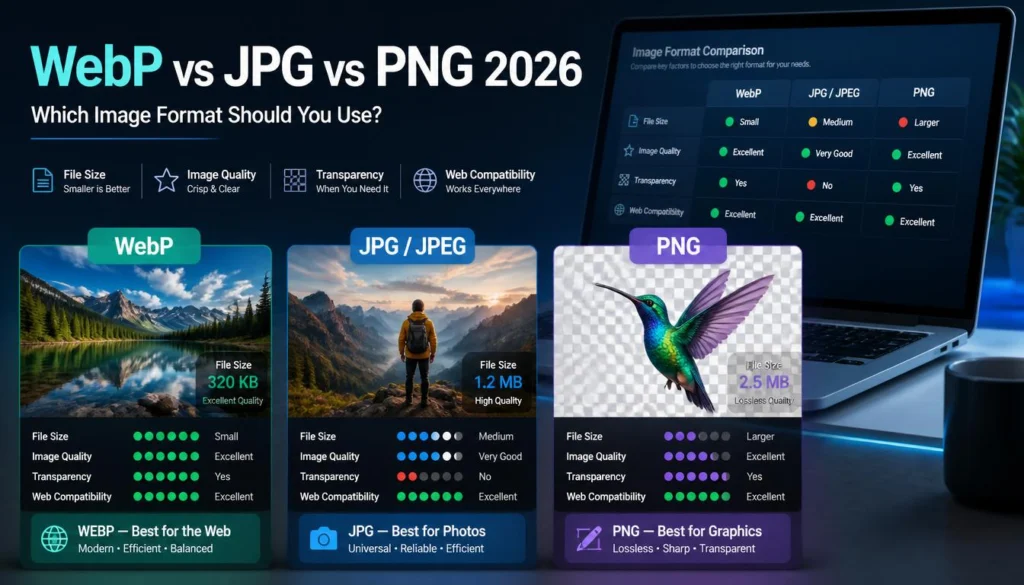
PNG is a lossless image format and can preserve transparency, which makes it well suited to screenshots, UI graphics, and text-heavy visuals. The W3C describes PNG as a lossless raster format with optional alpha transparency. W3C PNG specification
For most bug reports and tutorials, start with PNG. Convert only when there is a clear reason.
Why Screenshots Can Be Surprisingly Large
A screenshot may look simple, but file size is determined by more than what you see on screen.
The usual causes include:
-
A high-resolution display capturing many more pixels than expected
-
A full-screen or full-page browser screenshot
-
A long webpage capture with thousands of pixels of vertical content
-
PNG’s lossless format preserving every pixel precisely
-
Complex visuals such as photos, gradients, maps, charts, or video frames
-
Multiple monitors, browser zoom, or retina-style display scaling
-
Screenshot tools that save at the screen’s native resolution
For example, a screenshot of a clean black-and-white settings panel may compress well as PNG because large areas use flat colors. A screenshot of the same panel with a large background photo, dashboard charts, gradients, and browser tabs can become much larger.
Screenshots are not all the same kind of image. Treating them as identical is what creates bad conversions.
A Practical Screenshot Sharing Workflow
When I prepare screenshots for a developer, client, or content brief, I use a simple sequence:
-
Capture only the useful area.
-
Remove anything sensitive or irrelevant.
-
Choose PNG, JPG, or WebP based on what needs to remain sharp.
-
Resize the image if the source is much larger than the recipient needs.
-
Compress or convert a copy.
-
Open the final file and check the smallest important text.
-
Send the optimized version while keeping the original if it may be needed later.
That process is faster than repeatedly sending files, being told they are too large, compressing them too hard, and then having someone ask for a readable version.
How to Convert Screenshot to JPG or PNG
1. Crop before converting
Crop first. Always.
A screenshot often includes things the recipient does not need:
-
Browser tabs
-
Bookmarks
-
Desktop wallpaper
-
Notifications
-
Sidebars
-
Empty margins
-
Personal information
-
Unrelated application windows
-
Large unused sections below the issue
If a developer needs to see a broken checkout button, they probably do not need your entire 2,560-pixel-wide desktop screen. Crop to the relevant section while keeping enough surrounding context to explain what is happening.
A good bug-report screenshot usually includes:
-
The visible error or unexpected behavior
-
The button, form, or page area involved
-
Enough nearby UI to identify the location
-
Any relevant browser, device, or viewport information when needed
Cropping reduces file size before you even start thinking about compression. It also makes the screenshot easier to understand.
2. Remove sensitive information
Before uploading or sharing, check the screenshot for private details.
Look for:
-
Email addresses
-
Phone numbers
-
Customer names
-
Home addresses
-
API keys
-
Password fields
-
Account IDs
-
Order numbers
-
Payment information
-
Browser bookmarks
-
Internal admin URLs
-
Personal notifications
Blur, cover, or crop private information before you send the image. Do not rely on a recipient ignoring it.
For bug reports, it can be helpful to label hidden values clearly. For example, replace a customer email with customer@example.com or cover an API key with a solid block marked REDACTED.
That tells the developer the field exists without exposing the actual data.
3. Keep PNG when text and UI details matter
Use PNG when the screenshot contains small text, code, tables, forms, charts, menus, buttons, or thin interface borders.
A PNG is often the safer choice for:
-
A WordPress dashboard issue
-
A checkout error message
-
A CSS layout problem
-
A Google Search Console warning
-
A mobile menu bug
-
A code snippet
-
A browser-console error
-
A tutorial image showing where to click
PNG preserves pixels without lossy image compression, so it tends to keep sharp edges and small text cleaner.
If the file is too large, do not immediately convert it to low-quality JPG. First crop it, then resize it to a practical dimension, then test a compressed version.
4. Choose JPG for photo-heavy or casual screenshots
JPG is often fine when a screenshot is mostly photographic or when the recipient does not need to inspect tiny interface details.
Examples include:
-
A screenshot of a social-media feed
-
A visual reference image sent in chat
-
A video frame
-
A photo gallery preview
-
A full-screen promotional design
-
A rough client preview
-
A screenshot where readability is not the priority
JPG uses lossy compression, so it can significantly reduce file size for complex images. The trade-off is that it may soften text, create artifacts around sharp edges, or make flat-color areas look uneven if the quality setting is too low.
For a screenshot containing a large photo and a few large captions, JPG may be perfectly acceptable. For a screenshot where someone needs to read a 12-pixel error message, PNG is usually the better choice.
5. Resize before you compress
Resizing is often more effective than pushing compression too far.
If you capture a 3,000-pixel-wide screenshot but the recipient will view it in a chat window or support ticket, you may not need all those pixels. Scale it down carefully while checking that the smallest important text still remains readable.
For common sharing tasks:
-
Use the original dimensions if tiny text must be inspected.
-
Use a moderate width for screenshots added to a blog post or knowledge base.
-
Use smaller dimensions for chat messages and quick visual references.
-
Keep enough resolution for the recipient to zoom slightly if needed.
There is no magic number that fits every screenshot. A mobile screenshot with large text can be reduced more than a dense desktop dashboard full of small labels.
The correct size is the smallest version that still communicates the issue clearly.
6. Convert or compress the screenshot
Once you know the correct format and size, convert or compress the image.
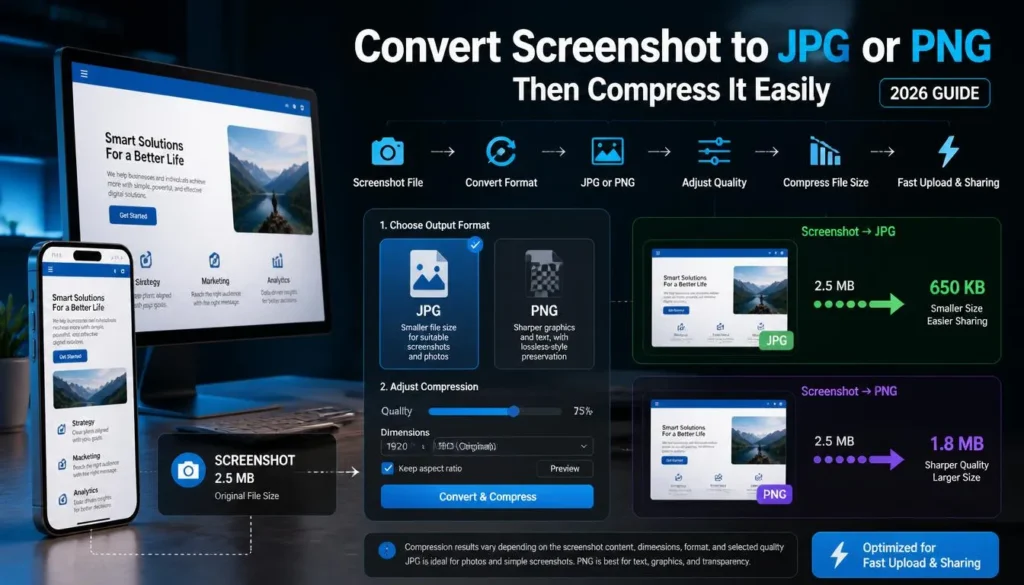
For quick file preparation, you can shrink and reformat screenshots in your browser without installing a separate image app. Upload the screenshot, choose JPG or PNG depending on the content, then download the converted version.
If you are working with several files, process them in small batches and check one result before converting the entire folder. A dashboard screenshot may need PNG, while a photo-heavy social-media capture may be better as JPG.
Do not apply one setting to everything just because the screenshots came from the same project.
7. Check the important detail at normal size
Open the finished file before sending it.
Do not only look at the overall image. Check the exact part your recipient needs:
-
Can the error message be read?
-
Are the button labels still sharp?
-
Is the highlighted area visible?
-
Can someone see the broken layout?
-
Did the redaction fully cover sensitive information?
-
Did the background change after conversion?
-
Is the file small enough for the destination platform?
This check takes less than a minute. It prevents the frustrating back-and-forth where someone responds, “I can’t read the text in this screenshot.”
PNG vs JPG for Screenshots
The quick version: use PNG when someone must read or inspect the screenshot. Use JPG when the screenshot is more like a photograph or a general visual reference.
Common Mistakes When Compressing Screenshots
Converting every screenshot to JPG
This is the most common mistake.
A JPG may make a screenshot smaller, but it can also make small text look fuzzy. If the screenshot is meant to document a bug, settings path, or technical process, readability matters more than winning a few extra kilobytes.
Keep UI-heavy screenshots as PNG unless you have tested the JPG and confirmed that every important detail still reads clearly.
Compressing before cropping
If half the screenshot is irrelevant, remove it first.
Compressing a full desktop capture with browser chrome, empty margins, and unrelated windows wastes effort. Crop the image to the useful area, then decide whether conversion or compression is still necessary.
Sending high-resolution originals to chat apps
Many chat apps compress or resize images automatically. That can be helpful, but it can also produce an unreadable result if you send an enormous screenshot with small text.
Prepare a useful version yourself. Crop it, resize it if appropriate, and check the final clarity before sharing.
Ignoring browser zoom and display scale
A screenshot captured at 125% or 150% display scaling can have different dimensions and apparent text size than one captured at 100%.
If you are documenting a responsive-layout issue, include the viewport width or browser zoom in the bug report. The screenshot alone may not give a developer enough information to reproduce the problem.
Forgetting the written explanation
A screenshot is evidence, not always a full explanation.
For a useful bug report, add a short note with:
-
What you expected to happen
-
What actually happened
-
The page or URL involved
-
The device and browser used
-
Steps to reproduce the issue
-
Any relevant time, account type, or form input
One well-labeled screenshot plus a clear sentence is more useful than ten unlabeled images.
Screenshot Compression for Websites
If you publish screenshots inside blog posts, support articles, documentation, or tutorials, you need to balance clarity with page weight.
A 2 MB PNG might be justified for a detailed software tutorial where readers must zoom in to inspect menu options. It is less justified for a decorative screenshot in a short marketing article.
For website screenshots:
-
Crop closely around the relevant interface.
-
Avoid including browser chrome unless it provides useful context.
-
Keep text readable at the displayed size.
-
Use PNG for sharp UI elements and code.
-
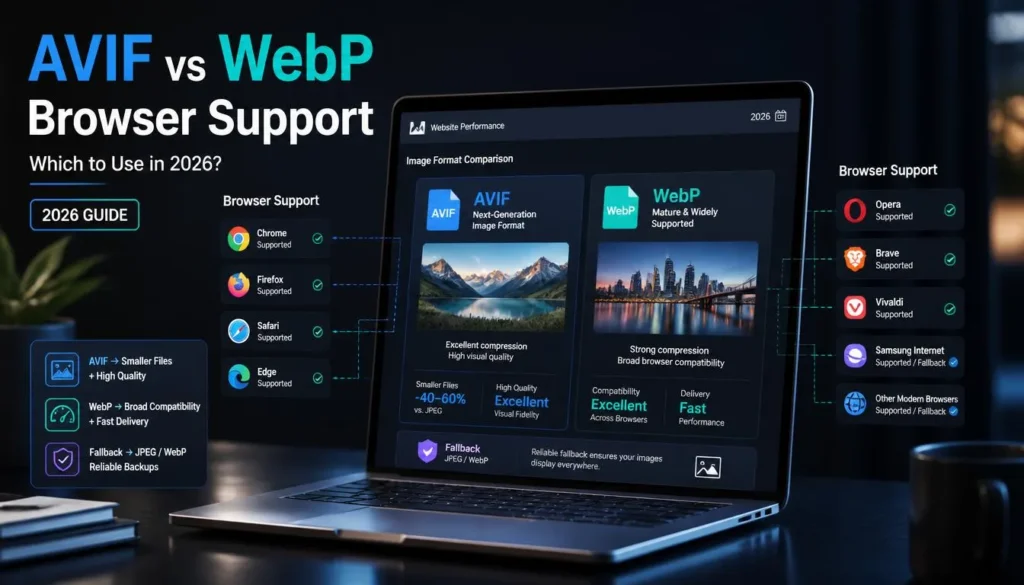
Consider WebP for larger screenshots or photo-heavy captures when your site supports it.
-
Add descriptive alt text that explains the screenshot’s purpose.
-
Check the image on mobile, where a wide desktop capture may be difficult to read.
If a screenshot exists only to show a single button, consider using a tighter crop rather than forcing readers to pinch and zoom through a full-page capture.
FAQ
Should I convert screenshots to JPG or PNG?
Choose PNG when the screenshot includes small text, code, menus, forms, buttons, charts, or anything that needs close inspection. Choose JPG when the screenshot is mostly photographic, decorative, or being shared casually where a smaller file matters more than perfect text sharpness.
Why is my screenshot PNG file so large?
PNG is lossless, meaning it preserves pixel data rather than discarding it through lossy compression. High-resolution displays, full-page captures, photos, gradients, and complex dashboards can make a PNG screenshot much larger than expected.
Crop the image first, then resize it if possible, and only then consider conversion.
Will converting a screenshot to JPG make it blurry?
It can. JPG uses lossy compression, which can soften text and create artifacts around sharp edges, especially at lower quality settings.
For technical screenshots, test the converted image at normal viewing size before sending it. If the text is not clear, return to PNG or use a higher-quality JPG export.
Can I compress a PNG screenshot without changing it to JPG?
Yes. You can optimize a PNG while keeping it in PNG format. Cropping and resizing also reduce file size without changing the file type.
This is often the best approach for screenshots that contain important small text or interface details.
What is the best screenshot format for a WordPress tutorial?
PNG is usually the safest option because WordPress tutorials often depend on readers being able to see buttons, menu labels, fields, and small interface details.
For large or photo-heavy screenshots, WebP may be worth testing, but always check text clarity in the published page.
Share the Smallest Clear Version
A screenshot does not need to be full resolution to be useful. It needs to show the right thing clearly.
Crop the clutter. Protect private information. Keep PNG when the image contains interface detail or small text. Use JPG when the screenshot behaves more like a photo and a lighter file will make sharing easier.
When you need a quick conversion, use a browser tool to prepare the copy you send—then keep the original screenshot available until the issue is resolved.