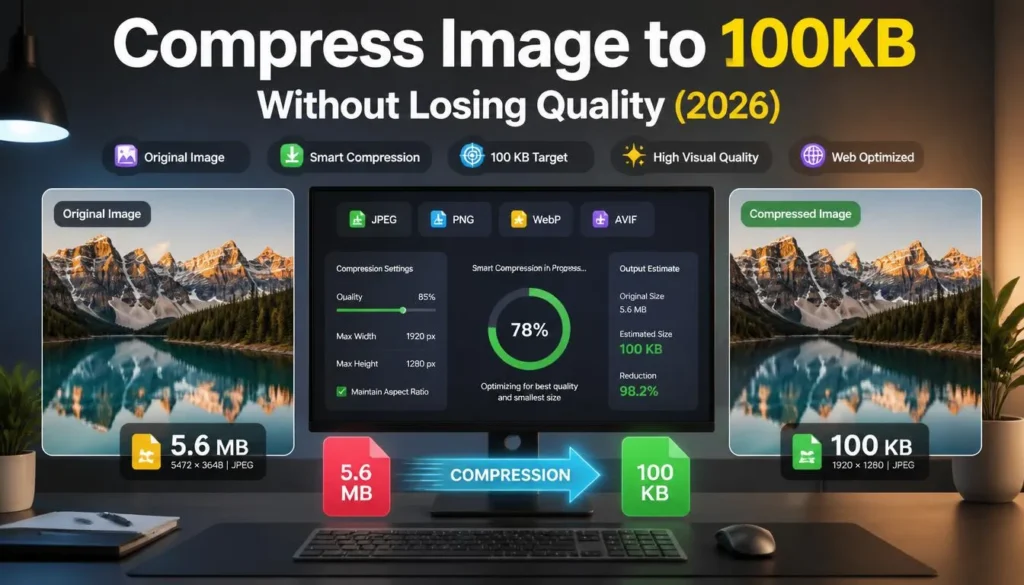
How to Compress an Image to 100KB Without Losing Quality (2026)
A 100KB image limit sounds simple until your upload gets rejected for being 104KB—or you squeeze it down so aggressively that faces look waxy and product details turn fuzzy.
The fix is not blindly dragging a “quality” slider downward. To compress image to 100kb without obvious quality loss, you need to reduce the pixels you do not need, pick a format that suits the image, then apply compression with a sensible starting point.
For most web images, WebP gives you the best chance of hitting the target while keeping the result clean. WebP files are commonly smaller than comparable JPEGs at similar visual quality, especially for photographs and mixed-content images.
Before You Start: Know What 100KB Can Handle
A 100KB image can look excellent when it is sized for its real use.
For example, a 4,000 × 3,000 iPhone photo may be several megabytes because it contains far more pixels than a blog post, product card, or profile upload needs. Trying to keep every one of those pixels while forcing the file under 100KB is where quality falls apart.
A practical target depends on where the image will appear:
The key is display size. If your WordPress theme renders a product thumbnail at 500px wide, uploading a 3,000px original only wastes bytes.
Compress Image to 100KB Step by Step
1. Check the upload platform’s format rules
Before you convert anything, confirm what the destination accepts.
Websites, WordPress pages, and modern browsers generally handle WebP well. Some older portals, forms, marketplaces, and document systems may specifically request JPG or PNG. If the platform says “JPG only,” follow that requirement even if WebP would create a smaller file.
This small check prevents a common headache: creating a beautiful 98KB WebP image that the upload form refuses to accept.
2. Resize the image before compressing it
Resizing is the biggest quality-saving move you can make.
Start by reducing the image to the largest width it will actually be displayed at. A phone photo that begins at 4,032px wide often does not need to stay anywhere near that size for a website. Bringing it down to 1,200px or 1,600px removes unnecessary data before compression begins.
Here is a realistic example:
-
Original: 4,032 × 3,024px phone photo, 4MB
-
Resize: 1,200px wide
-
Export: WebP at moderate-to-high quality
-
Result: Often close to or below 100KB, while still looking sharp in a blog post
If you skip resizing and only lower quality, the encoder has to destroy more visual detail to meet the same size limit. That is why full-resolution photos often look rough at 100KB.
3. Choose the best file format
The format matters as much as the compression setting.
WebP is usually the first choice for blog images, product photos, featured images, and general website graphics. It handles photographic detail efficiently and can often reach a low file size without the softness you may notice in an equally sized JPEG.
JPG remains useful when you need broad compatibility. It is still a sensible choice for forms, profile photos, marketplaces, and systems that explicitly require a JPEG file.
PNG is best reserved for images that genuinely need transparency or very crisp flat-color edges, such as logos, icons, and interface elements. A large photographic PNG is usually a poor candidate for a 100KB limit because it carries more data than necessary.
You can convert your images directly in the browser to test WebP, JPG, and PNG outputs without installing desktop software.
4. Start with a quality setting around 75–85
For most photographs, begin around 80 rather than jumping immediately to 50 or lower.
A quality setting in the 75–85 range is often a solid middle ground: small enough to make a meaningful difference, but high enough to keep ordinary photos looking natural at their intended display size. The right number changes with the image, though. A blue-sky landscape, a close-up portrait, and a busy city scene do not compress in the same way.
Use this as a practical starting guide:
If the image remains above 100KB, lower quality in small steps—perhaps from 85 to 80, then 75—rather than dropping straight to 40.
5. Inspect the image at normal viewing size
Do not judge quality from a tiny preview alone.
Open the compressed image at roughly the size a visitor will see. Look closely at the areas people notice first:
-
Faces, eyes, hair, and skin texture
-
Product labels, prices, and small text
-
Logo edges and brand marks
-
Gradients in skies or backgrounds
-
Fine patterns in clothing, furniture, or foliage
At this stage, you are looking for compression artifacts: blotchy patches, blocky gradients, halos around edges, or a smeared “painted” look.
A file can technically be 99KB and still be wrong for the job. If the product name is unreadable or the person in the photo looks distorted, reduce dimensions a little more and raise quality slightly instead of continuing to crush the file.
6. Aim below 100KB, not exactly 100KB
If a platform has a strict 100KB cap, target around 90–98KB.
That buffer helps avoid upload failures caused by differences in how a site calculates file size or handles metadata. It also saves you from redoing the file because an export lands at 100.4KB.
For a simple workflow, use our free WebP converter to create a smaller version, check the exported file size, and make one controlled adjustment if it still exceeds the limit.
The Best Compression Workflow by Image Type
Phone photos
Phone images are usually oversized for web use. Resize first, then convert to WebP.
For a featured image, try 1,200–1,600px wide at WebP quality around 80. If the result is still too large, lower the width before reducing quality heavily. A 1,200px image at quality 80 usually looks better than a 3,000px image at quality 45.
E-commerce product images
Product imagery needs detail where it counts: labels, stitching, texture, and edges.
Start with a width that matches your product gallery layout. For smaller product cards, 800px is often enough. Keep quality slightly higher than you would for a casual lifestyle photo, especially if your item has text packaging or intricate material.
White backgrounds also reveal artifacts quickly. Check shadows and product outlines carefully.
Blog and WordPress images
For blog posts, there is rarely a reason to upload the original camera file.
Resize the featured image to the maximum width your theme uses. Then create a WebP version. This approach reduces page weight without making readers feel like they are browsing a low-quality site.
If your article contains screenshots, keep their width sensible and use a higher quality setting than you would for photographs. Readers need to be able to read menu labels, code snippets, and small buttons.
Logos and transparent graphics
Do not force every image into JPG.
If a logo needs a transparent background, use PNG or transparent WebP. First remove unused empty space around the logo. Then export at the exact dimensions required by the theme or header. A tightly cropped 400px-wide logo is far easier to keep under 100KB than a 2,000px canvas with a small logo in the middle.
Common Mistakes That Ruin Image Quality
Compressing the original camera image repeatedly
Every time you save a lossy image again, you can introduce more artifacts. Keep the original untouched and always create new compressed versions from that source file.
A common mistake is taking a previously compressed JPEG, compressing it again, then converting it to WebP. The final file may be smaller, but it carries damage from multiple rounds of compression.
Lowering quality before reducing dimensions
This is probably the most common error when trying to compress image to 100kb.
If an image is much larger than its display area, resize it first. Pixel reduction removes data the viewer would never see anyway. Lowering quality first removes visible detail.
Using PNG for a large photograph
PNG is excellent for transparency and flat artwork. It is not usually the right format for a large photo that must stay under 100KB.
A photo exported as PNG can be several times larger than a WebP or JPG version that looks almost identical at normal size.
Choosing a format the upload form does not support
Do not assume every site accepts WebP. A government form, HR system, legacy portal, or marketplace may require JPG. Read the accepted-file rules before preparing your final upload.
When compatibility is uncertain, keep a JPEG backup.
Ignoring metadata and empty canvas space
Image metadata can add unnecessary bytes, especially in photos taken on a phone. Cropping unused borders and exporting a web-ready copy can make it easier to meet a tight target.
For logos and screenshots, check for large transparent or blank areas around the actual content. Trim them before exporting.
How to Keep Images Under 100KB Without Losing Quality Later
Once you find a workflow that works, turn it into a repeatable habit.
-
Export images at the dimensions your site actually displays
-
Use WebP for web images when the destination supports it
-
Keep high-resolution originals outside your media library as a backup
-
Create JPG copies for platforms with stricter compatibility needs
-
Check the final file size before uploading
-
Review the image at real display size, not only at a tiny preview
-
Name files clearly so you do not accidentally upload the uncompressed original
For WordPress work, this is especially useful for featured images, category thumbnails, author photos, and article screenshots. A few oversized images may not seem serious, but they add up across a content-heavy site.
FAQ
Can I compress an image to exactly 100KB?
You can, but it is safer to aim just below the limit. A target of roughly 90–98KB gives you room for strict upload systems and prevents a file that is barely over the allowed size from being rejected.
Can I compress a photo to 100KB without losing any quality?
Not always in the technical sense. Reaching 100KB from a large photo usually requires lossy compression or resizing. The goal is to make the difference invisible or negligible at the image’s intended display size, not to preserve every original pixel.
Is WebP better than JPG for a 100KB image?
For most website photos, yes. WebP often produces a smaller file than JPG at comparable visual quality. Use JPG instead when the site or form explicitly requires it, or when you need maximum compatibility.
Why is my image still larger than 100KB at low quality?
The dimensions are probably too large, or the image contains difficult-to-compress detail such as dense foliage, noise, text, or complex patterns. Reduce pixel dimensions first, then adjust quality gradually.
Should I use PNG to keep text sharp?
Use PNG when transparency or perfectly crisp graphic edges are necessary. For screenshots and images with text, high-quality WebP can often work well at a much lower file size. Test both formats and inspect the text at normal display size.
Get Your Image Under the Limit
The fastest reliable path is simple: resize to the dimensions you actually need, export in WebP when it is supported, and make small quality adjustments only after checking the file size and visual result. When you are ready to compress image to 100kb for a blog post, product image, screenshot, or upload form, try the conversion tool here and compare a few clean exports before choosing the final file.