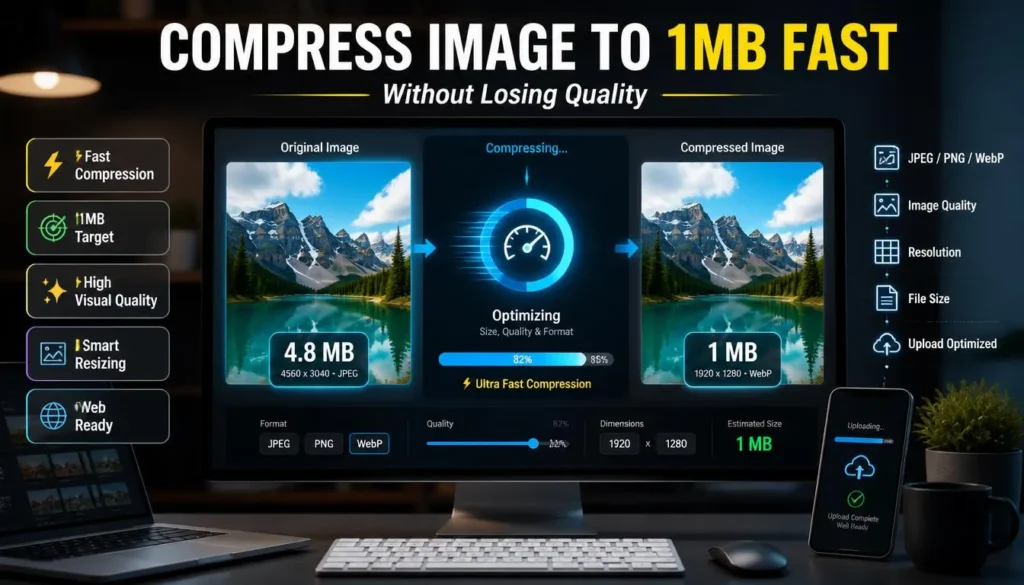
How to Compress an Image to Under 1MB (Fast Method)
A 1MB image limit is generous compared with a 50KB or 100KB form upload, but it can still catch you out. A single photo from a recent iPhone, Samsung, or DSLR can be anywhere from a few megabytes to well over 10MB.
The good news: to compress image to 1mb, you usually do not need to make it look noticeably worse. In many cases, resizing the image to a sensible width and exporting it in the right format is enough.
This guide walks through the quickest method for photos, screenshots, product images, document uploads, and website assets. It also explains the mistakes that turn a perfectly sharp photo into a soft, over-compressed mess.
Why Your Image Is Bigger Than 1MB
File size comes from more than the image’s width and height.
A large photo stores millions of pixels, and each pixel contains color information. A 4,000 × 3,000px phone image holds 12 million pixels before you even consider format, metadata, and compression settings. If it is saved as a high-quality JPG, PNG, or HEIC conversion, the file can become much larger than an upload form allows.
Photos with busy details also take more space. Trees, grass, textured fabric, crowds, brick walls, and noisy low-light images are harder to compress cleanly than a studio headshot against a plain background.
A 1MB target gives you enough room to preserve a good amount of detail. The main job is to remove pixels and data the viewer will never need.
How to Compress Image to 1MB
1. Check the upload requirements
Before you change the image, look at the destination rules.
A site may say “maximum 1MB” while also requiring JPG, JPEG, PNG, or a certain minimum resolution. A marketplace might accept WebP for product images, while a government form may accept only JPG. If the destination has exact width, height, or aspect-ratio requirements, those rules matter as much as the file-size limit.
Check these items:
-
Maximum allowed file size
-
Allowed image formats
-
Minimum and maximum pixel dimensions
-
Required orientation or aspect ratio
-
Whether the image needs transparency
-
Whether the upload is a photo, document scan, signature, or graphic
Do not convert a file to WebP for an official form unless the form lists WebP as an accepted type. A smaller file is useless if the portal rejects its format.
2. Start from the original image
Always keep the original untouched.
If you compress a JPG, then compress that export again, each round can introduce visible artifacts. I have seen this often with photos sent through messaging apps and then reused for uploads: edges turn rough, skin becomes blotchy, and text loses definition long before the file reaches 1MB.
Make a separate working copy. That gives you freedom to test settings without damaging the best available source file.
3. Resize the image to a practical width
Resizing is usually the fastest way to get below 1MB without sacrificing the quality people actually see.
A 4,032px-wide photo is useful for printing or heavy editing. It is excessive for a profile image, typical blog image, product listing, or online form. If the final page only displays the image at 1,200px wide, exporting a 4,000px version wastes bytes and bandwidth.
Use these starting sizes:
Keep the original aspect ratio unless the platform gives you a required crop. Stretching a vertical photo into a horizontal box will not reduce file size in a useful way; it will only make the image look wrong.
For fast web-image exports, you can convert your images directly in the browser after choosing a sensible width.
4. Choose the format based on where the image is going
The best format depends on the image and the upload destination.
WebP is usually the best first option for websites, WordPress images, e-commerce listings, blog featured images, and general web content. It commonly creates a smaller file than JPG at similar visual quality, particularly for photographs. WebP is also useful for graphics and supports transparency.
JPG is the compatibility choice. Use it when an online form, school application, government portal, client system, or marketplace specifically requests JPG or JPEG. It is reliable for photos and can easily stay below 1MB after resizing.
PNG is useful for transparent graphics, logos, UI images, and screenshots where crisp lines matter. It is less efficient for large photographs. If you are trying to reduce a camera photo below 1MB, converting it from PNG to JPG or WebP can make a dramatic difference.
If you are preparing a website image, try our free WebP converter and compare the WebP version with a JPG export at the same display dimensions.
5. Use moderate compression first
Once the image is resized, export it at a quality setting around 80–85 for photographs.
That is a practical starting range, not a fixed rule. A clear portrait on a plain background may remain under 1MB even at a high setting. A detailed landscape, a dark indoor photo, or a close-up of patterned fabric may need a slightly lower quality level.
Make changes in small steps:
-
Export at quality 85.
-
Check the file size.
-
If it is over 1MB, try 80.
-
If needed, reduce the width a little before dropping quality further.
-
Inspect each new export before deciding.
As a general rule, reducing dimensions slightly is kinder to image quality than forcing a large original through very low-quality compression. A 1,600px image at quality 82 often looks better than a 4,000px image at quality 55.
6. Aim for 900KB to 950KB
If a system says “maximum 1MB,” do not create a file that sits exactly at the limit.
Targeting around 900KB to 950KB gives you a useful margin. It lowers the chance of a failed upload caused by file-size rounding, additional processing, or a strict validator.
For a one-off upload, this buffer is usually all you need. For a website, you may want to go lower if the image appears only as a small thumbnail.
7. Check the important details
Open the final export before you upload it.
A file can be technically under 1MB and still be the wrong version. Look at the areas people will notice:
-
Eyes, hair, and skin in portraits
-
Text labels and product packaging
-
Fine lines in logos and icons
-
Small type in screenshots or document scans
-
Gradients in skies, walls, and studio backdrops
-
Edges between a subject and its background
If the image shows blocky patches, smearing, color banding, or fuzzy text, return to the previous version. Lower the dimensions modestly and raise quality instead of continuing to push the quality slider downward.
Fast Settings for Common Image Types
Phone photos
A phone photo is often the easiest file to reduce below 1MB.
Resize a large image to 1,600–2,000px wide, then export as WebP or JPG at quality 80–85. For a standard website image, that normally retains enough detail while removing a large amount of unused pixel data.
If you are uploading to a form that only accepts JPG, use JPG. Keep the dimensions reasonable and there is rarely a need to reduce it to extremely low quality just to reach 1MB.
Product images
Product photography needs clear edges, color accuracy, and readable labels.
Start around 1,200–1,600px wide. For a product with printed packaging, textured fabric, jewelry, or detailed stitching, use a higher quality setting than you would for a casual background photo. Inspect the product label and edges after each export.
For web stores, WebP is often an efficient choice. Keep a JPG source copy in case a marketplace or email system needs it later.
Document scans
Document scans need a different mindset. Legibility comes before visual polish.
Crop out the table, fingers, surrounding background, and blank margins. Then resize only as much as you can without making text hard to read. JPG works well for most color scans; PNG may be appropriate for simple graphics or a scan that requires sharp line art, but it can make the file larger.
If the document is still over 1MB, use grayscale only if color is not needed for stamps, signatures, seals, or markings.
Screenshots and diagrams
Screenshots are full of tiny text, straight lines, icons, and sharp color changes. They can look poor when heavily compressed as JPG.
Try WebP at a relatively high quality setting for a screenshot, or PNG if the file size is already acceptable. Crop out browser chrome, unused desktop space, and irrelevant portions of the screen before you export.
Common Mistakes to Avoid
Trying to compress a giant image without resizing
This is the most common reason people end up with a blurry 900KB file.
A huge photo contains more information than a typical online destination can display. Resize it first, then compress. You will get a better-looking result with less trial and error.
Using PNG for a full-size photo
PNG is not a bad format. It is simply the wrong tool for most camera photos when file size matters.
If a photo is a 5MB PNG, changing it to JPG or WebP may bring it below 1MB with little visible change at normal viewing size.
Compressing the same file again and again
Repeated lossy exports damage an image over time. Start each test from the original or the highest-quality working copy you have.
This is especially important when the file has already been resized or passed through a social platform.
Ignoring the destination format rules
For website use, WebP is often a smart move. For official uploads, JPG may be mandatory. Always prioritize the rules of the destination over a file format that happens to be smaller.
Forgetting to inspect the exported image
Do not treat the file size as the only success metric. Check clarity, color, text, and crop before you submit the upload.
A product image with unreadable packaging or a document scan with blurry ID numbers is not usable, regardless of whether it weighs 800KB.
FAQ
Can I compress a photo to under 1MB without losing quality?
You can often reduce a photo below 1MB with no noticeable quality loss at normal viewing size. Resize it to the dimensions you need before applying moderate JPG or WebP compression. The original image will not remain technically identical, but the visible difference can be minimal.
What is the best format for an image under 1MB?
For websites, WebP is often the best choice because it can create smaller files at similar visual quality. For online forms and maximum compatibility, JPG is usually the safer format. Use PNG mainly for transparency, logos, and sharp graphics.
Why is my image still larger than 1MB?
The image may have excessive pixel dimensions, a detailed background, a high quality setting, or PNG format. Crop unused areas, resize the image, switch a photo to JPG or WebP, then adjust quality gradually.
Is 1MB the same as 1,000KB?
Not always. Some systems use 1MB as 1,000KB, while others use 1,024KB. To avoid an upload error, keep your final file comfortably below the maximum rather than aiming for the exact boundary.
Does changing DPI make an image smaller?
Usually not in a meaningful way for online use. Pixel dimensions, file format, and compression quality determine most of the file size. Focus on those settings first.
Create a Clean Image Under 1MB
To compress image to 1mb quickly, resize it to the real display width, export it in the format your destination accepts, and make small quality adjustments only when necessary. For blog posts, product images, screenshots, or other web-ready visuals, try the conversion tool here to create a lighter WebP, JPG, or PNG file without installing anything.