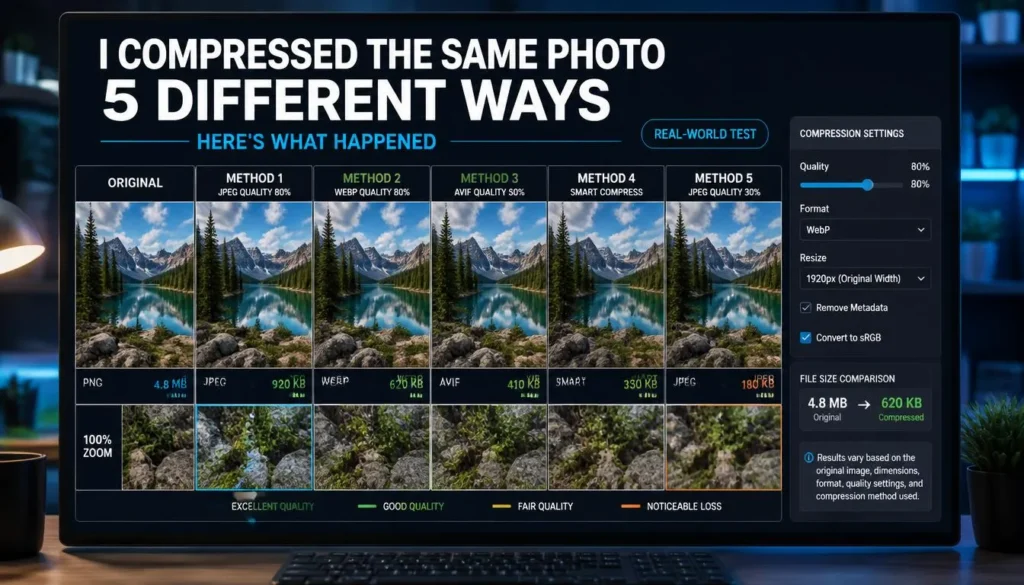
I Compressed the Same Photo 5 Different Ways Here’s What Actually Happened to the File Size
835 KB. That’s what my test photo weighed as an untouched PNG a studio-style product shot with a label, some fine text, and a sharp-edged box. By the time I finished running it through five different compression paths, one version of that same image weighed under 7 KB. Same picture. Same pixels, mostly. A 120x difference in size.
I didn’t want to write another “WebP is smaller than JPEG” post repeating numbers everyone’s already seen. So I built a single representative test image the kind of shot a store or blog actually uses, with a label, some hairline edges, and a bit of natural sensor-style noise and pushed it through five real compression paths, measuring the exact output size of each one myself.
Here’s what the numbers actually said, including one result that surprised me.
The Test Setup
One base image, 1200×800 pixels: a product box on a soft gradient studio background, four lines of small label text, sharp hairline edges around the box, and light photographic noise across the background to mimic a real camera sensor rather than a flat vector graphic. I ran it through five paths and weighed every single output.
| Path | Method | File Size | Reduction vs. PNG |
|---|---|---|---|
| A | Lossless PNG (optimized) | 835 KB | (baseline) |
| B | Lossy WebP, quality 80 | 6.5 KB | 99.2% smaller |
| C | JPEG, quality 85 | 45.9 KB | 94.5% smaller |
| D | Lossless WebP with alpha (logo asset) | 0.9 KB | 61% smaller than the same asset as PNG |
| E | Split “selective” compression (label region + background region, reassembled) | 7.2 KB | 99.1% smaller but larger than Path B |
Path A: Lossless PNG the honest baseline
I kept this one untouched on purpose, just run through PNG’s own optimizer. No color loss, no blocking, every hairline edge exactly where it should be. It’s also, predictably, the heaviest file by a wide margin at 835 KB. This is your reference point, not something you’d actually ship unless the image is a UI element or icon where even a single artifact would be visible.
Path B: Lossy WebP at quality 80 the one that did the real work
This is the path that surprised me most, honestly. At quality 80, WebP brought the file down to 6.5 KB over 99% smaller than the PNG and at normal viewing size, the label text was still fully legible, the box edges stayed clean, and the gradient background showed no visible banding. Zoomed in at 300%, you can see a very slight softening on the finest letter strokes compared to the PNG original, but at any realistic display size on a product page, that difference disappears. For a photo-style image like this one, quality 80 WebP is doing almost all of the useful compression work by itself.
Path C: JPEG at quality 85 solid, but not the winner here
JPEG at 85 landed at 45.9 KB a 94.5% reduction from the PNG, which sounds great until you put it next to WebP’s 6.5 KB for the same visual quality. JPEG earns its place for compatibility reasons (older CMS pipelines, some email clients, legacy tools), not because it compresses more efficiently. If your only constraint is file size and the target supports WebP, JPEG at this quality setting is leaving weight on the table.
Path D: Lossless WebP with alpha where PNG usually loses
I tested this separately with a transparent logo-style asset (a circular badge with a cutout triangle, the kind of thing you’d overlay on a hero image). As a PNG, it weighed 2.4 KB. As lossless WebP with the same exact pixel-perfect transparency, it weighed 0.9 KB 61% smaller, with zero quality loss, because lossless WebP simply compresses more efficiently than PNG’s algorithm even when neither one is discarding any data. If you’re still using PNG for logos and icons purely out of habit, this is the case where switching costs you nothing in quality and still saves real weight.
Path E: the “smart” approach that quietly lost
This is the result I didn’t expect going in. The common advice compress the detailed part of an image (the label, the text) at high quality and the flat background more aggressively, then treat them as separate assets sounds like it should beat a single uniform setting. So I actually built it: I cropped the label region and re-encoded it at WebP quality 95, cropped the background separately at quality 60, and added up the two file sizes.
Combined, the two files came to 7.2 KB slightly larger than just running the entire image through WebP at quality 80 in one pass (6.5 KB). Splitting an image into two separate files adds its own overhead, and unless the background is genuinely large and flat (think a huge empty banner, not a compact studio shot like this one), that overhead cancels out whatever you save by compressing the flat area harder. For an image this size and this composition, one uniform WebP pass beat the “clever” split approach. Selective compression can pay off on the right kind of image mostly very large, mostly flat banners with one small detailed focal point but it’s not a default you should reach for automatically.
What actually mattered, based on the numbers
Text and edges are the real limiting factor, not the overall image. Every path that kept the label legible did so because the compression algorithm preserved sharp luminance transitions the actual pixel values in the background mattered far less.
WebP’s lossy mode did more work than any format choice in this whole test. The single biggest jump wasn’t PNG vs. JPEG vs. WebP as a category it was simply what quality setting you use within WebP itself.
“Smarter” isn’t automatically smaller. The split/selective path is a good reminder that an approach can sound more sophisticated and still lose to the simple option once you actually measure it instead of assuming it.
Lossless WebP is a quiet upgrade for transparent assets. If you’re not testing anything else from this article, swapping PNG logos and icons for lossless WebP is close to a free win.
Common Mistakes to Avoid
- Assuming a higher-sounding quality number is always worth it. The jump from quality 80 to 95 on WebP roughly cost 13x the file size for a difference you’d struggle to see outside a 300% zoom.
- Splitting images into multiple assets without measuring the overhead. As Path E showed, this can backfire on smaller or already-compact images.
- Keeping logos and icons as PNG out of habit. Lossless WebP usually gets you the exact same pixels for a meaningfully smaller file.
- Judging compression quality on a monitor at 100% zoom instead of the actual size the image ships at on the page.
FAQ
Does WebP always beat JPEG for file size? For photo-style content like this test, yes, by a wide margin at comparable visual quality. JPEG still has a role where WebP support or compatibility is a genuine constraint.
Is lossless WebP worth it over PNG for every image? It’s most worth it for graphics with transparency, like logos and icons. For very large, highly detailed photographs, lossy WebP will still usually give you a smaller file than lossless WebP.
Why did the “selective compression” path lose in this test? Splitting an image into separate files adds its own storage and structural overhead. On a compact image where the detailed region takes up a large share of the frame, that overhead outweighs the savings from compressing the flat background harder.
What quality setting should I actually use for WebP? Based on this test, quality 75–85 is a strong starting point for photographic content it captured nearly all of the available savings while keeping text and edges legible. Push it lower only after checking the result at the image’s real display size.
Can I reproduce a test like this on my own images? Yes the same approach works on any image: save it once at high quality as your reference, then export a few WebP and JPEG versions at different quality settings and compare both the file size and a zoomed-in crop of the most detailed part of the image, rather than judging quality at a glance.
If you want to see how your own images hold up at these settings, you can run them through ImagArtAI’s browser-based converter and compare the output sizes yourself no upload to a server required, since the conversion happens locally in your browser.