How to Shrink Photos So They Actually Send by Email
The first batch had 14 phone photos. Nothing unusual: a few event shots, two group pictures, and several close-ups needed for a client approval email. Together, they looked harmless in a folder. The email server disagreed.
The message kept failing because the photos were straight from modern phones, each several megabytes wide. Worse, dropping the quality slider too far made faces and signage look rough. The fix was not “compress everything as much as possible.” It was creating email-sized copies that still did their job.
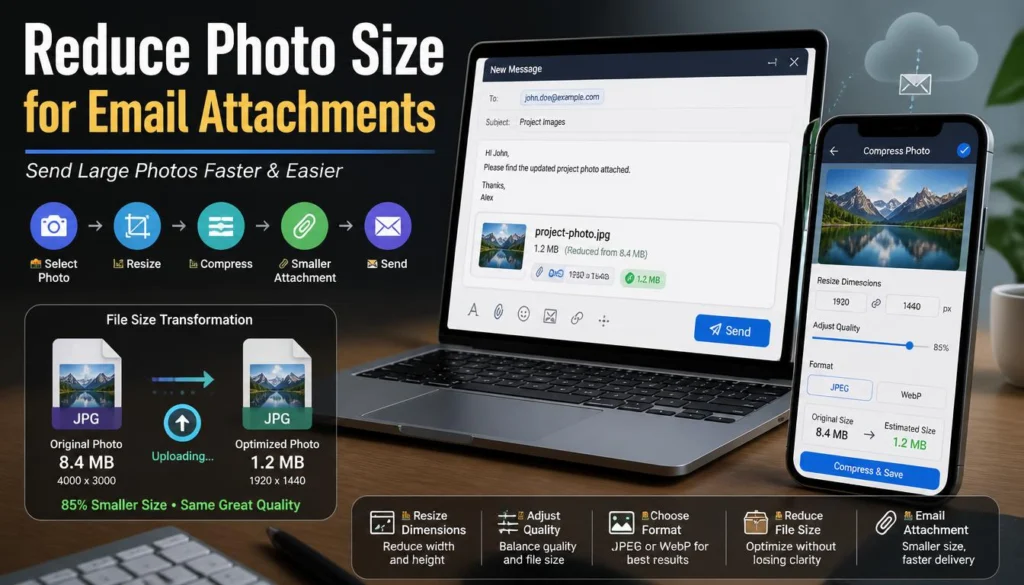
To reduce photo size for email attachment delivery, resize the images to a sensible width, choose a practical format, and leave enough room below your email provider’s attachment cap.
Why Photos Fail to Send by Email
Most email services limit the total size of every attachment in one message, not the size of each photo separately. Personal Gmail accounts have a 25MB attachment limit, while other providers and workplace email systems may have lower limits or custom rules. Email attachments can also grow during transit because of encoding, so a batch that looks close to the limit on your computer may still fail to send.
That is why “my files add up to 24MB” is not a safe plan.
For ordinary email, I prefer to keep the total attachment batch well below the provider’s published maximum. If you are sending several photos, aiming for around 15–18MB or less gives you much better odds of avoiding a bounce or a forced cloud-link conversion.
The source of the problem is usually image dimensions. A recent iPhone or Android camera can produce images around 3,000–4,000px wide or more. That is useful for cropping, editing, and printing. It is excessive when someone only needs to view a photo in an email window.
The Fast Way to Reduce Photo Size for Email Attachment Limits
1. Decide what the recipient needs to do with the photos
Start here, because the correct file size depends on the job.
If the recipient only needs to approve a product, choose an event favorite, check a location, or view a progress update, a smaller email-ready image is ideal. They do not need a full-resolution original.
If they need to print the photo, edit it, submit it to a publisher, or archive it for high-resolution use, email attachments are usually the wrong delivery method. Send small previews by email and share the originals through a cloud-storage link or another approved file-sharing method.
A simple rule works well:
When in doubt, email a clearly named preview version and keep the originals untouched.
2. Resize before you compress
This is the biggest improvement you can make.
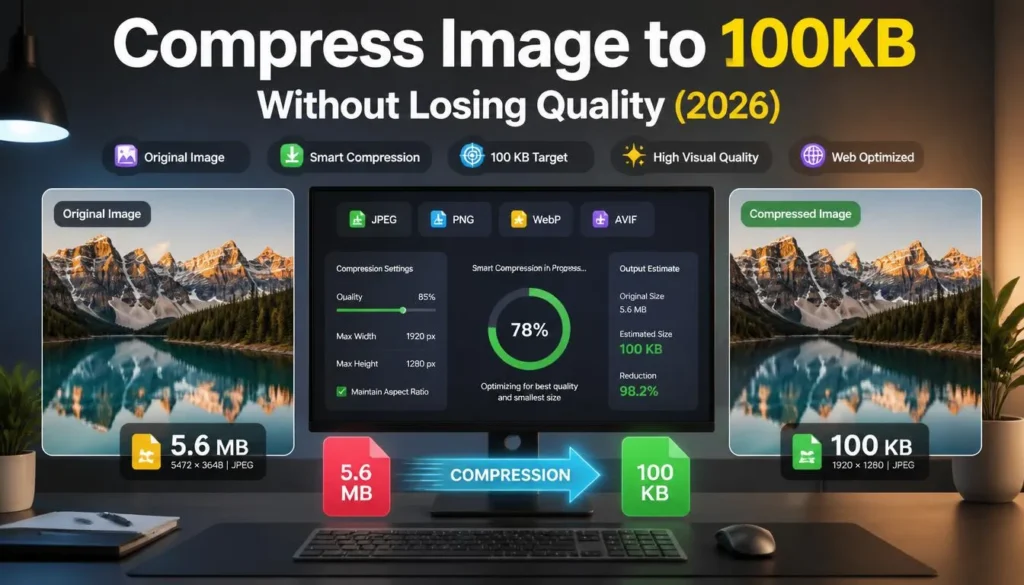
A 4,032px-wide phone photo does not need to stay that large for a client approval email. Resize it first, then compress it moderately. That approach usually creates a sharper result than trying to force the full camera image into a tiny file with a very low-quality setting.
These widths are practical starting points:
Keep the aspect ratio locked while resizing. Stretching a portrait photo into a wide shape or squeezing a landscape image into a square does not reduce file size in a useful way. It only makes the picture look wrong.
If you need a quick way to make lighter copies from your original images, use the browser-based image format tool after choosing the right dimensions.
3. Use JPG for normal email photos
For standard photos, JPG is usually the safest format for email.
It is widely compatible across phones, laptops, Windows, macOS, and common email clients. A JPG photograph can often be made significantly smaller than a PNG while still looking clean at normal viewing size.
WebP is excellent for websites and can produce a smaller result at comparable quality. But some email clients, preview tools, and less technical recipients may not handle WebP as predictably as JPG. When you want the recipient to open the attachment with no questions, JPG is the dependable choice.
Use PNG only when you genuinely need it, such as:
-
A logo with transparency
-
A simple graphic with sharp flat-color edges
-
A screenshot where JPG makes small text unreadable
-
A diagram that needs lossless lines and labels
For a full-color camera photo, PNG is usually a poor email choice because the file can remain far larger than necessary.
4. Start with moderate quality, not the lowest setting
For resized email photos, start around JPG quality 80–85.
This range often preserves faces, text on signs, product edges, and natural colors while reducing file size enough for practical attachments. If you have a batch of several images, use the same starting quality for all of them, then check the total size.
If the batch is still too large, reduce quality in small steps:
-
Export at quality 85.
-
Check the size of each file and the total batch.
-
Try quality 80 if you need more reduction.
-
If necessary, use quality 75.
-
Recheck the images, especially faces, labels, and fine details.
Do not jump from 85 to 40. That often produces a file that is small enough to send but unpleasant to view. Compression damage appears quickly around hair, shadows, gradients, text, and high-contrast object edges.
If you want more control over that decision, the guide on choosing an image quality percentage for compression explains why 80 can be ideal for one photo and too low for another.
5. Check the total size before attaching
Individual files can look small enough while the complete email batch is too large.
For example, six photos at 3MB each may add up to 18MB before email encoding. That is close enough to a typical attachment ceiling to cause trouble, particularly if you add more photos, include an inline image in the message, or send through a stricter work account.
Use a target based on how you send:
This does not mean every email must be under 10MB. It means you avoid treating the advertised maximum as a target. The closer your email gets to a limit, the more likely the recipient’s provider or a forwarding rule will create a problem.
6. Split large batches instead of crushing quality
If you need to send 30 images, do not make every photo tiny and ugly just to fit them into one email.
Split the batch into two or three clearly named messages, such as:
-
Event photos — Selection 1 of 3
-
Event photos — Selection 2 of 3
-
Event photos — Selection 3 of 3
Or send one contact sheet or preview collage for approval, then share the selected originals through a cloud link.
This protects image quality and makes the recipient’s job easier. They are less likely to miss an attachment or wait for one oversized email to load.
A Realistic Example: Twelve Phone Photos
Imagine you need to email 12 photos from a restaurant opening to a client. Each original photo is between 3MB and 6MB. The total source folder is over 50MB.
Sending the originals as attachments is likely to fail or trigger a cloud-link workflow.
A better process looks like this:
-
Keep the original images in a separate folder.
-
Create an email folder for the working copies.
-
Resize each photo to around 1,600px wide.
-
Export as JPG at quality 82.
-
Check the individual files. Many photos will now be well under 1MB, though detailed low-light images may remain larger.
-
Check the total batch size.
-
If the total is still high, lower the most detailed images slightly or split the set into two emails.
-
Attach the smaller JPG versions and label the email clearly.
-
Mention that full-resolution originals are available if the client needs them.
The client gets a fast, easy-to-open review set. You keep the high-quality source files for future edits, printing, or publication.
Common Mistakes That Stop Email Photos From Sending
Sending the camera originals
This is the most common mistake.
A single modern phone photo can be several megabytes, even before you attach multiple images. Full-resolution files are valuable, but they are rarely necessary for an email preview.
Create smaller copies for email. Keep the originals somewhere safe.
Compressing without resizing
Lowering quality on a huge image is a blunt solution.
A 4,000px-wide file at low quality can still be larger than a 1,500px-wide file at moderate quality. It also tends to look worse. Resize first, then compress gently.
Using PNG for ordinary photographs
PNG is useful for transparency and crisp graphics. It is not normally efficient for camera photos.
If a photo is unexpectedly large, check its format. Converting a full-color PNG photo to JPG often makes a dramatic difference for email attachments.
Packing every file into one message
Even if your email provider accepts a large total size, the recipient may have different limits, a slow connection, or a storage restriction. A huge email is also inconvenient to forward and harder to search later.
Split the batch or use a cloud link when appropriate.
Recompressing the same image repeatedly
Each lossy JPG export can add artifacts.
If your first email version is still too large, return to the original and make a new export with a smaller width or slightly lower quality. Do not keep saving the already-compressed version again and again.
Forgetting that screenshots need different handling
A screenshot full of text can look poor as a low-quality JPG. Use high-quality WebP or PNG if the recipient needs to read the details, or attach a PDF if the screenshot represents a document.
For a lightweight web copy of a screenshot or photo, the ImagArt online image converter can help you compare JPG, PNG, and WebP output before attaching the file.
Keep Future Emails Easy
You can avoid this problem repeatedly with a simple file habit.
Keep three versions when the images matter:
-
Original: Full-resolution source file for editing, printing, and archive
-
Web: Resized WebP or JPG for your site and social posts
-
Email: Resized JPG version for client reviews, updates, and general sharing
This is especially useful for freelancers, e-commerce sellers, photographers, real-estate teams, and anyone who regularly sends visual approvals. You do the optimization once, then you are not scrambling to shrink a 40MB batch five minutes before sending.
FAQ
What photo size is best for email attachments?
For most email photos, a width of about 1,200–1,600px is a practical balance between clarity and file size. Use JPG for general photographs and start around quality 80–85. If the recipient needs to inspect fine details, use a slightly larger width or higher quality and send fewer files per message.
Why does my email say the attachment is too large when the files are under the limit?
Attachment limits usually apply to the total email, not each file individually. Files can also increase in size during email encoding. Keep the total batch comfortably below the provider’s stated cap rather than aiming exactly at it.
Should I use JPG or WebP for photos sent by email?
Use JPG for ordinary photo attachments because it is widely supported by recipients and email clients. WebP is often efficient for web publishing, but JPG is the safer option when you do not know what device or app the recipient uses.
How do I email many high-resolution photos?
Send a smaller selection of resized JPG previews as attachments, then share a cloud-storage link for the full-resolution originals. If you must attach files, split them into multiple messages rather than compressing every image until it looks poor.
Does zipping photos make them smaller?
Usually not by much for JPG, WebP, or PNG images because those formats are already compressed. A ZIP file can keep a batch organized, but resizing and image compression are the effective ways to reduce photo size.
Send Smaller Photos, Not Worse Photos
To reduce photo size for email attachment delivery, resize to the recipient’s real viewing needs, use JPG for broadly compatible photo attachments, and apply moderate compression rather than extreme quality loss. Keep the total batch comfortably below the email limit, split larger selections into separate messages, and save your originals for the moments when someone genuinely needs the full-resolution file.